Modeling & Materials

Weekly Design Challenge Template

Daniel Oreskovic. Module 1 / Project 1.


Module 1


Down below is all of my process work with pictures and screenshots I took along the way while making my first 4D object in Cinema 4D in the first part of the Project 1 for IxD DESN 27425 Fall 2026.

Design Challenge 1
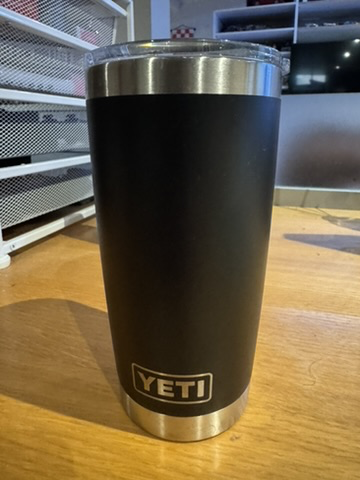
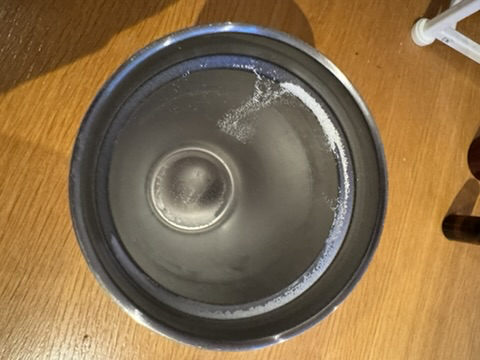
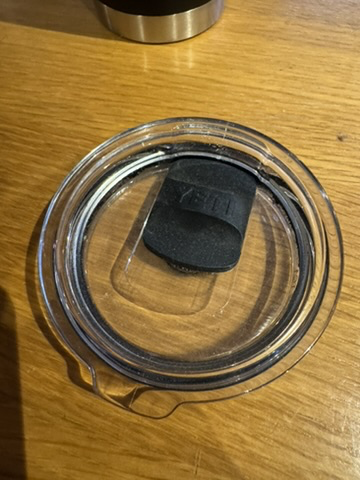
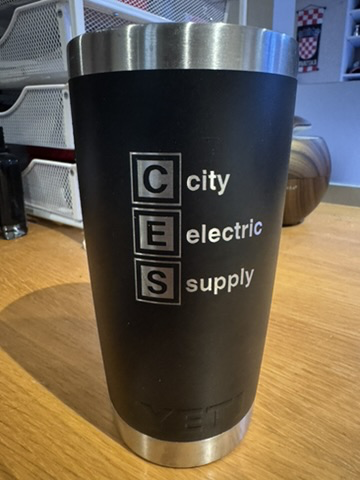
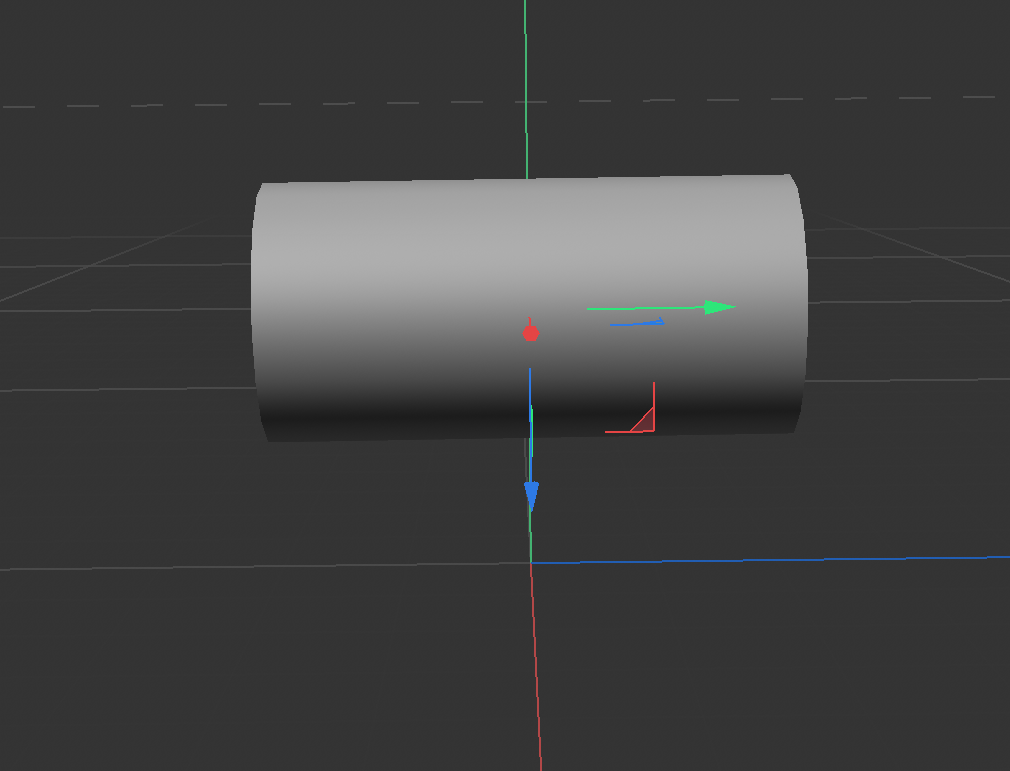
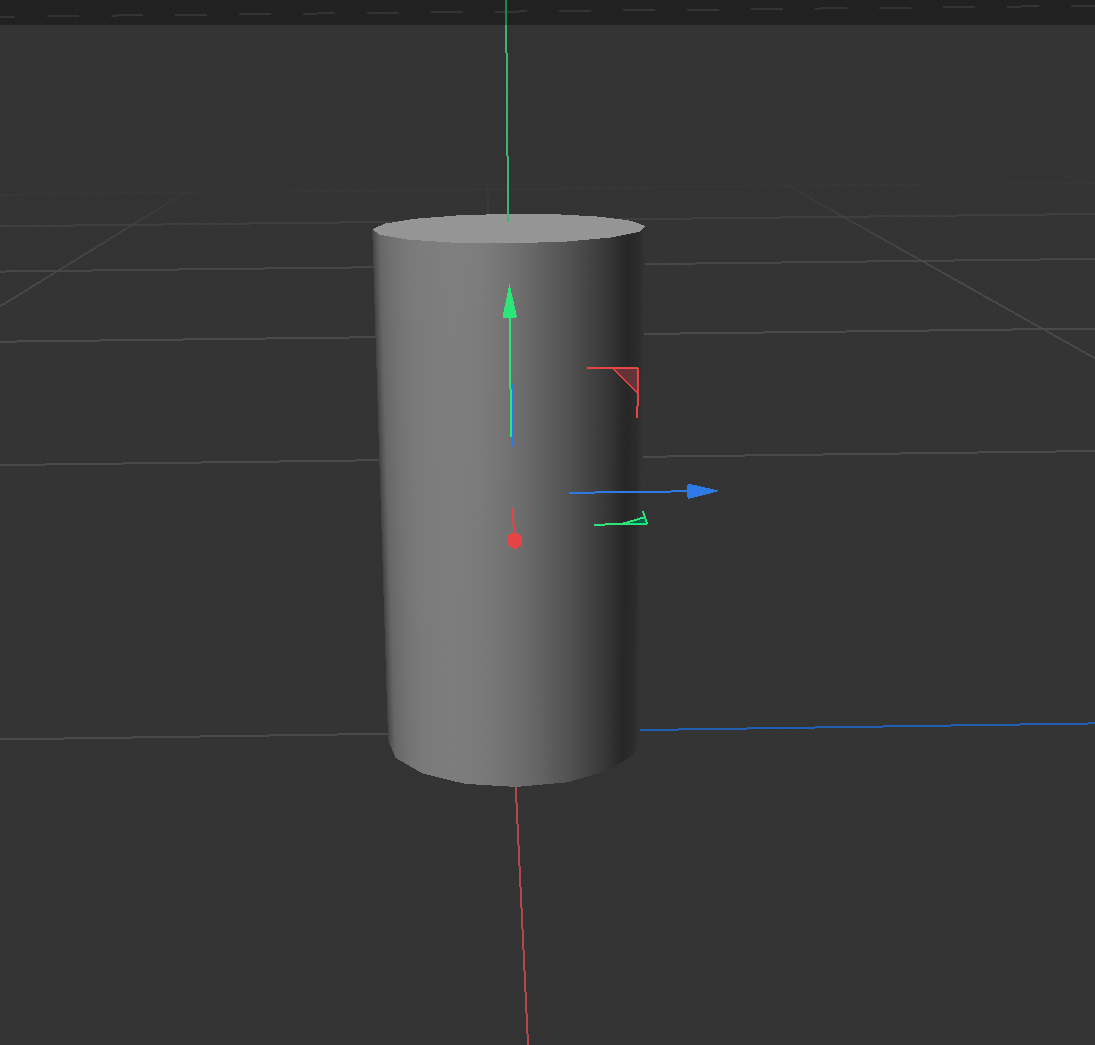
This is a cup that I use daily for my coffee, water, and any other beverages of my choosing. It is a Yeti cup with a simple design at the bottom but I like the minimalistic appproach to the desgin. This is the inside of said cup. The white power that is visable from this angle is protien powder from before the picture was taken. This is the lip of the cup itself, it has the Yeti logo imbeded on the slidder of the cup with is a very simple element of the design but it is a nice touch of detail. The other side of the cup has text imprinted to its side that reads 'City Electric Supply' with SES in small grey boxes to showcase the company. This images is of the 4D images of the cup on its right side. This was the start of the 4D journey as I selected the cylinder to create the cup itself. This image is of the cylinder expanded to make the shape of the cup, and I used the Taper toll in the Bend options in order to make this object. This image is of the Disc shape found in the Cube tab. I used this disc to try and create the lip of the cup. This is the same disc as the image previously but I made a whole in the middle so I could have a straw go in the center of it. For this image, I needed a second cylinder in order to create the stray going into the center of the disc and into the cup. This is the image of that same cylinder but I made it smaller and longer in order to make it more stray shaped. For this next image it is basically the same thing as before except I made the colour white instead of crey to add more colour into my design. This is an image of all the componants that will be going into the design of the cup unedited. This image is of the cup, disc, and straw together with one single clour in it, but I soon realized that it looks to boring like this. Now for this image, I used the Torus shape from the Cube tab in order to mimic the silver line wrapping around the bottom of the cup. Now this is an active view of the cup from various different sides. It is found in the Toggle Action View and it was a game changer throughout the project. Now this image is just the perspective view of the final object, which is one of the four views in the Toggle Action View. This is the top of the fully finished cup design with the disc and straw coming from the top of the cup itself and this is another one of the Toggle Action Views. Now this is the front of the finished cup design and from here you are able to see the Torus shape that is at the bottom and the straw that is coming from the top. This is an image that showcases me not knwing which direction to go with when it comes to the shape of the cup. While I eventually went with the other design, this was another choice of mine. Now this is an image that Shows how much I did not like the idea of the entirity of the design being white so I had to create black as a new colour for the cup design itself. This is an image I tried with the enitre image being black instead of white but I came back to the same result of thinking this is not the look I wish to go for. Now for this image, I realized that all plack what not the right way to go when it came down to the finsl design so I made a new colour, White in order to change the colour of the straw, disc, and torus. Now with this image, although it looks similar to the other images it is from a different angle where you are able to see the disc on top of the cup and how it fits with the design. And for my final image, this bar in the 4D cinema settings allowed me to incorperate the lines with my shading and being able to see where they are on my shapes. And this was found in the display panel.

Design Challenge 2
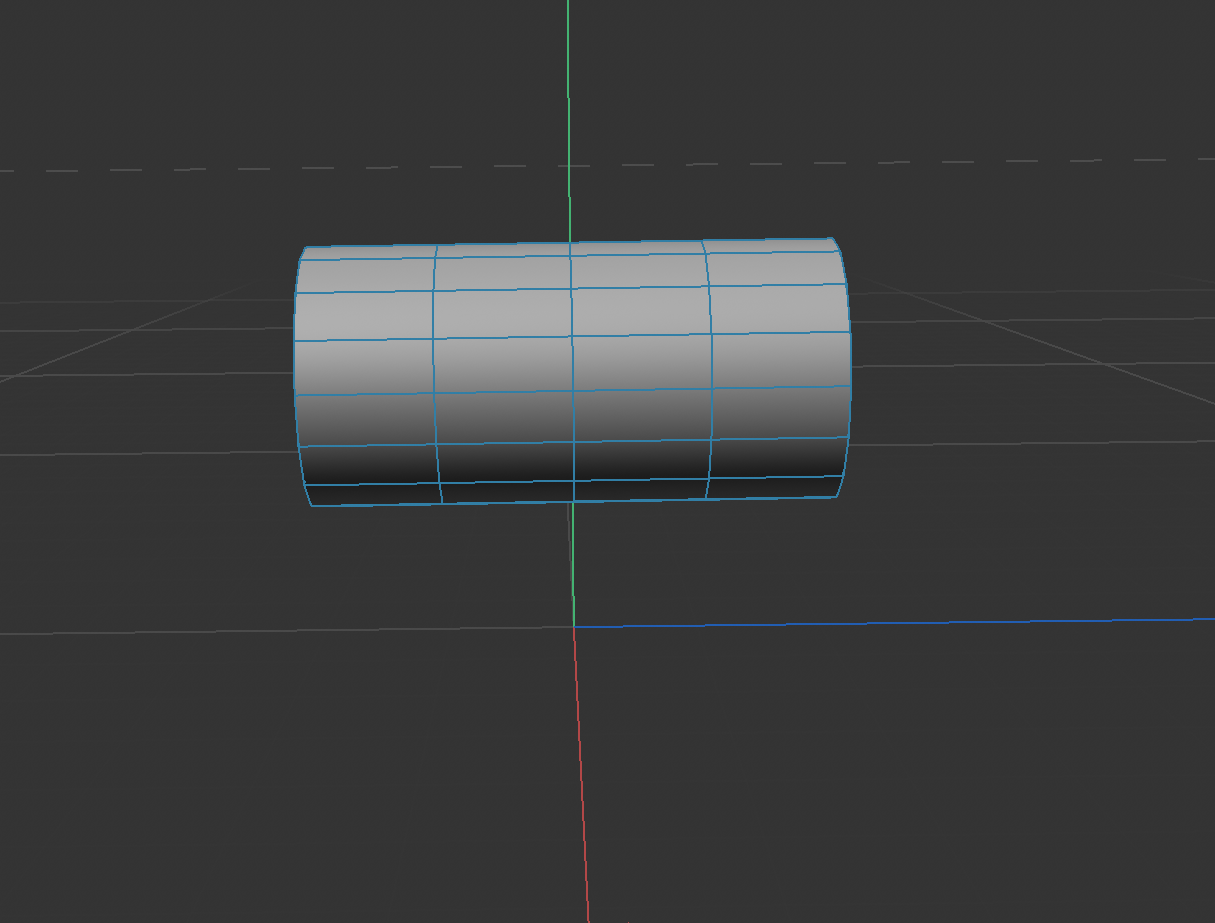
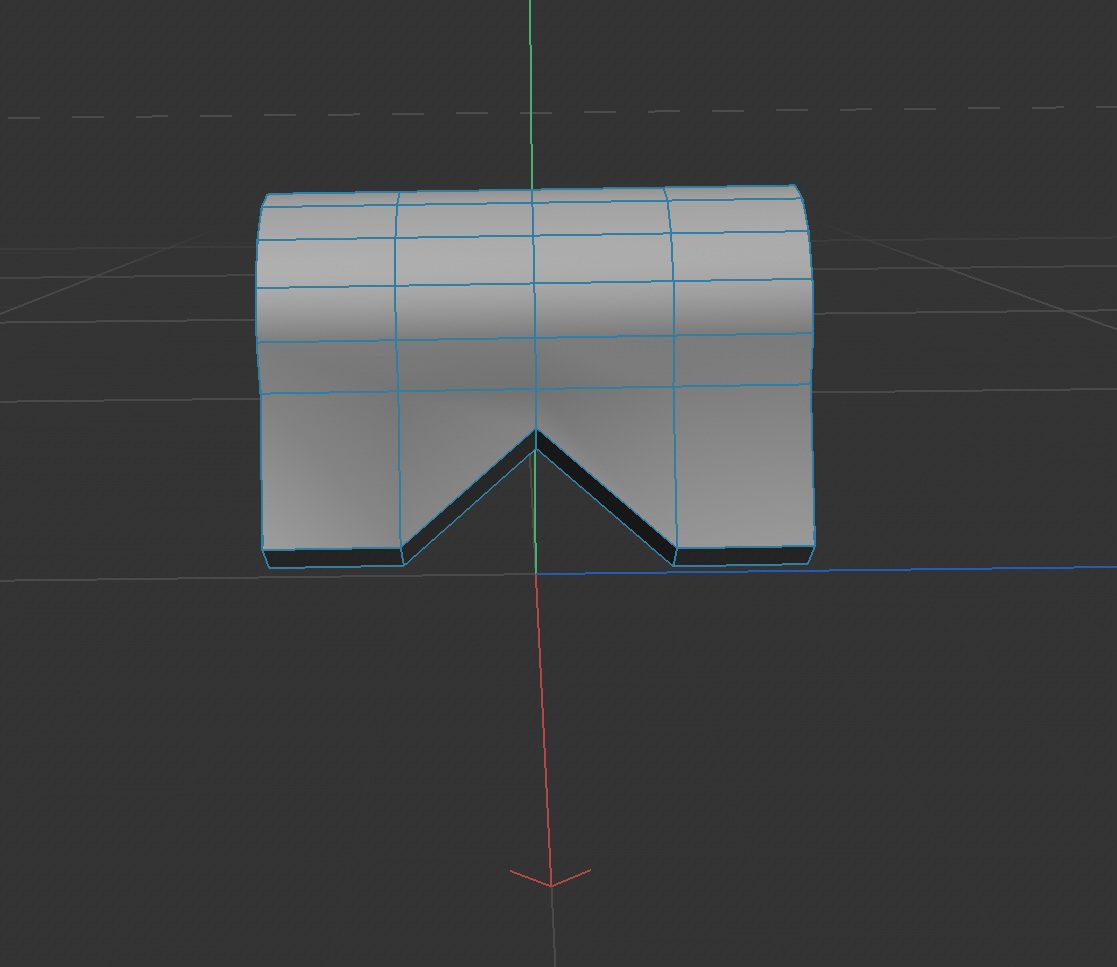
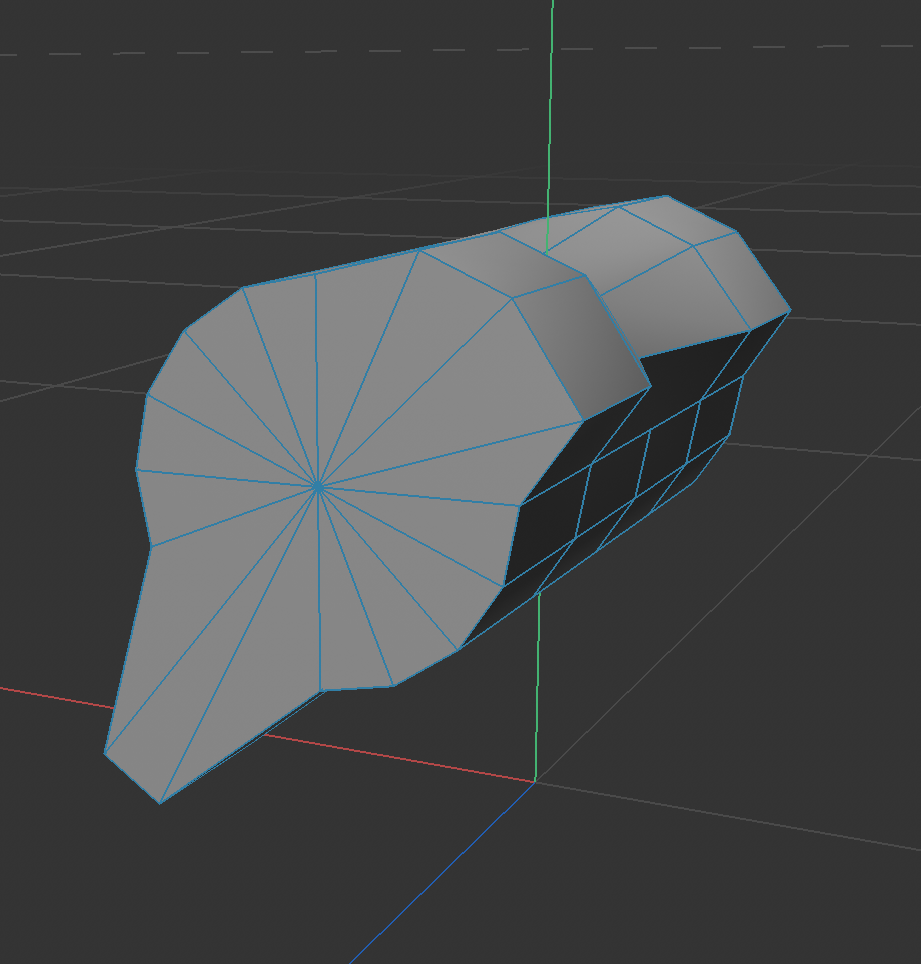
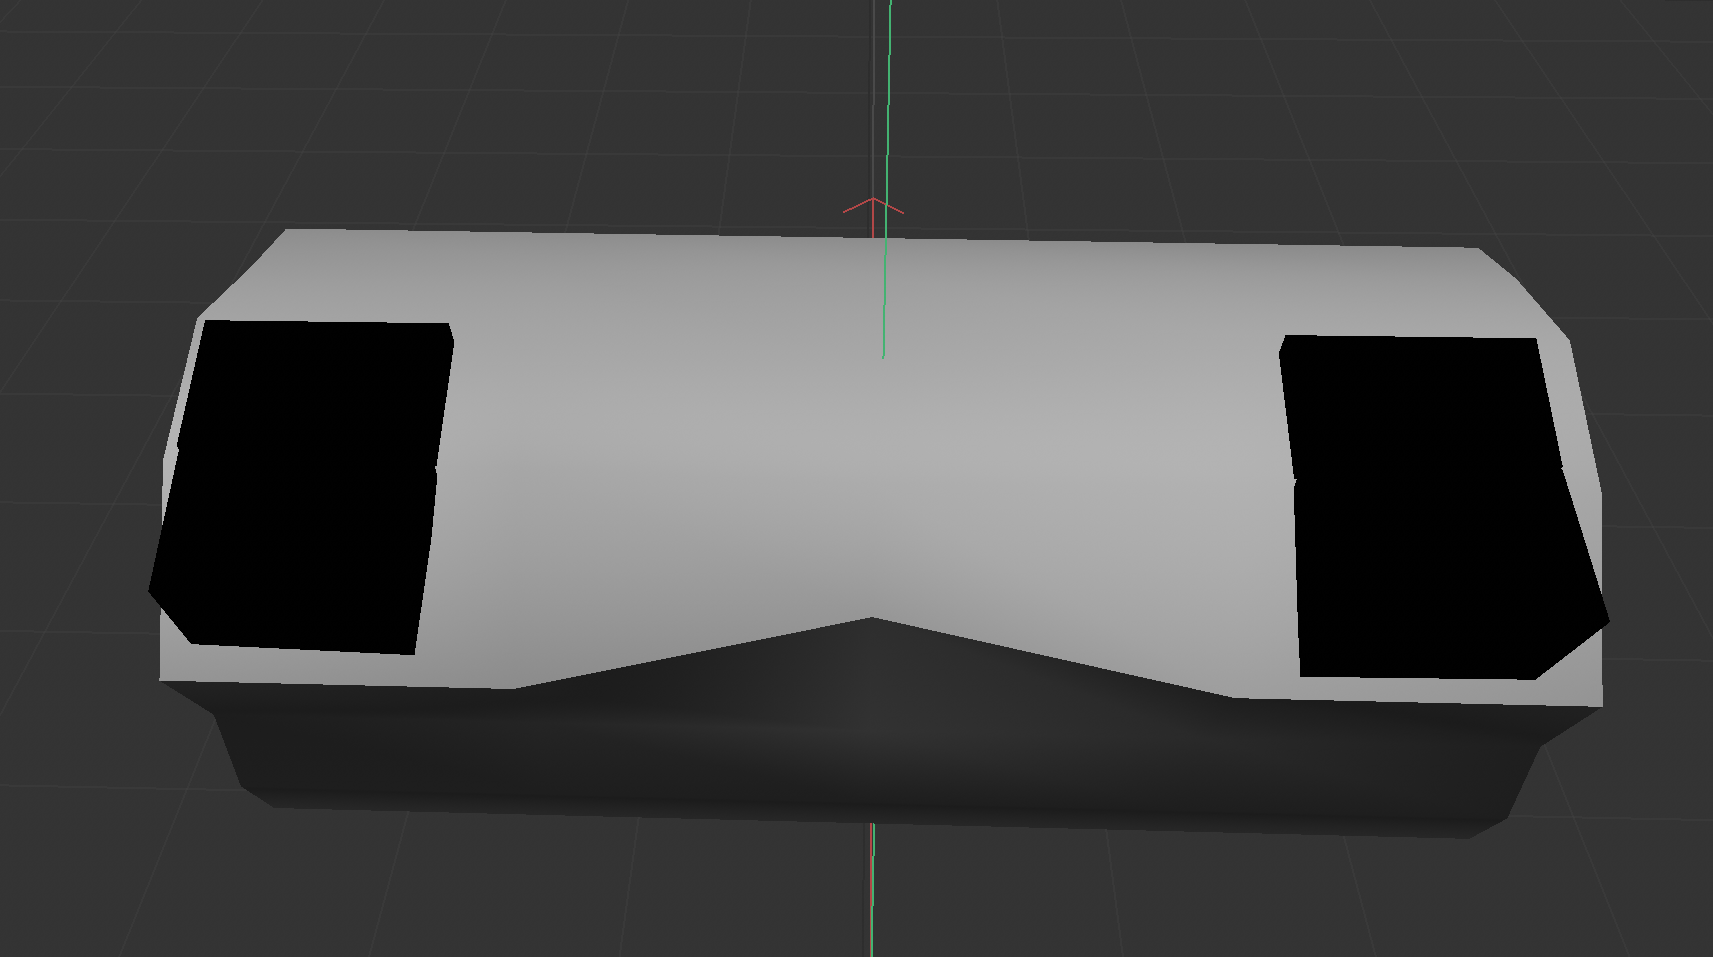
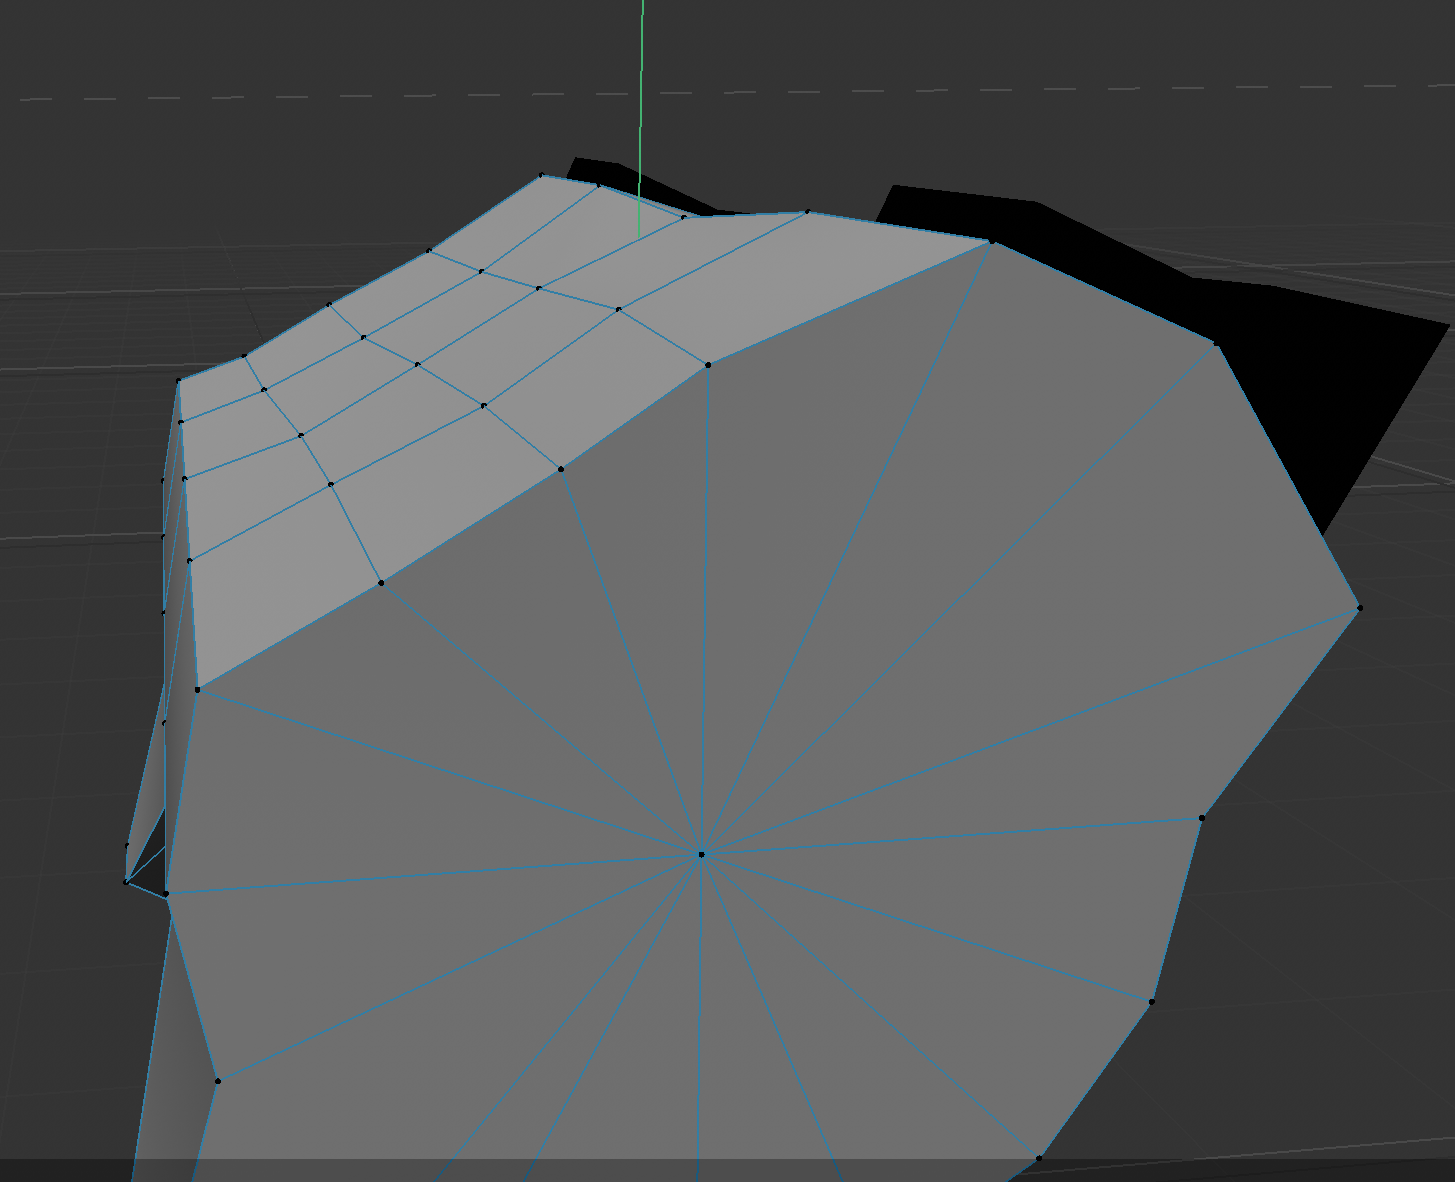
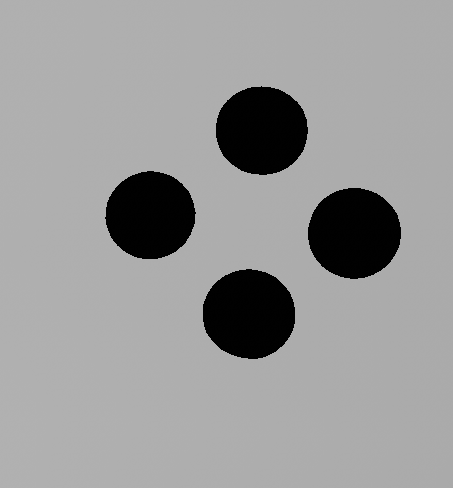
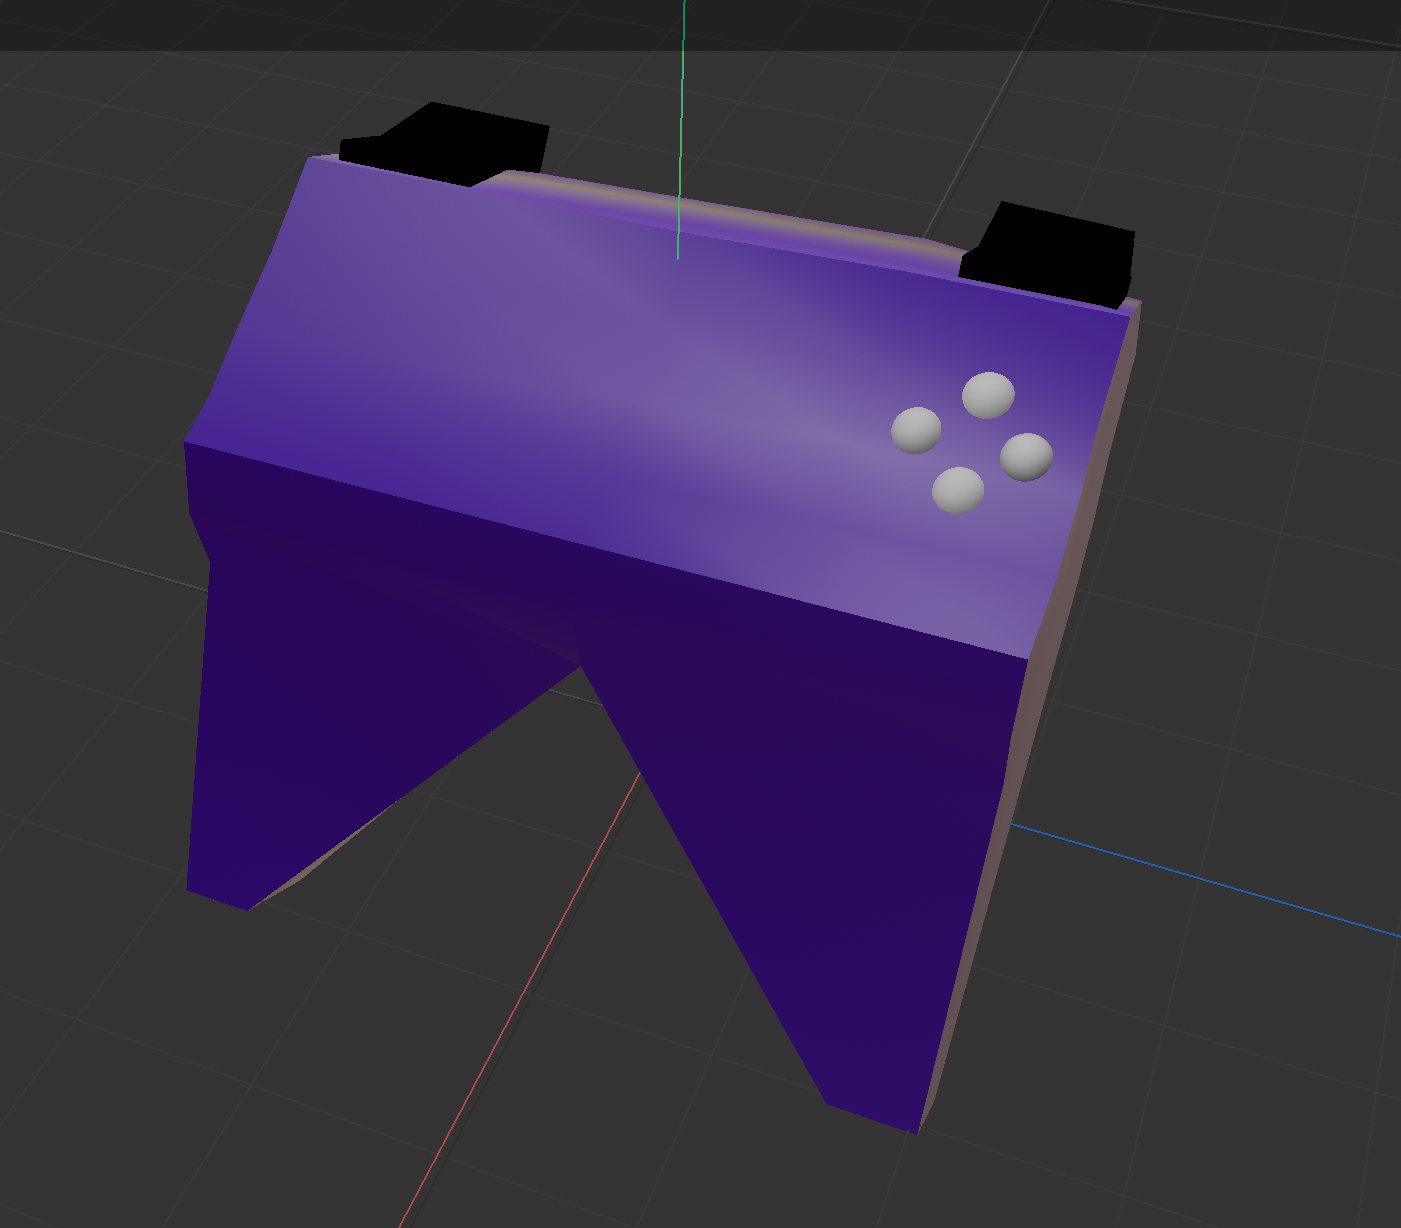
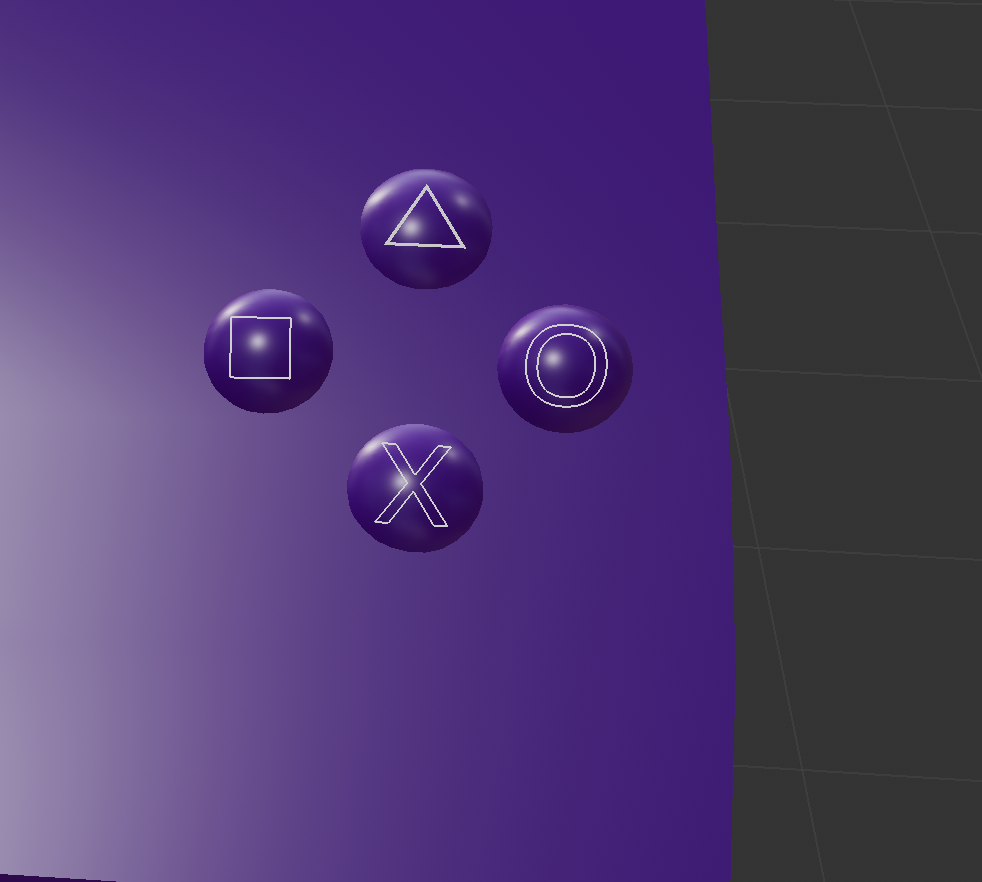
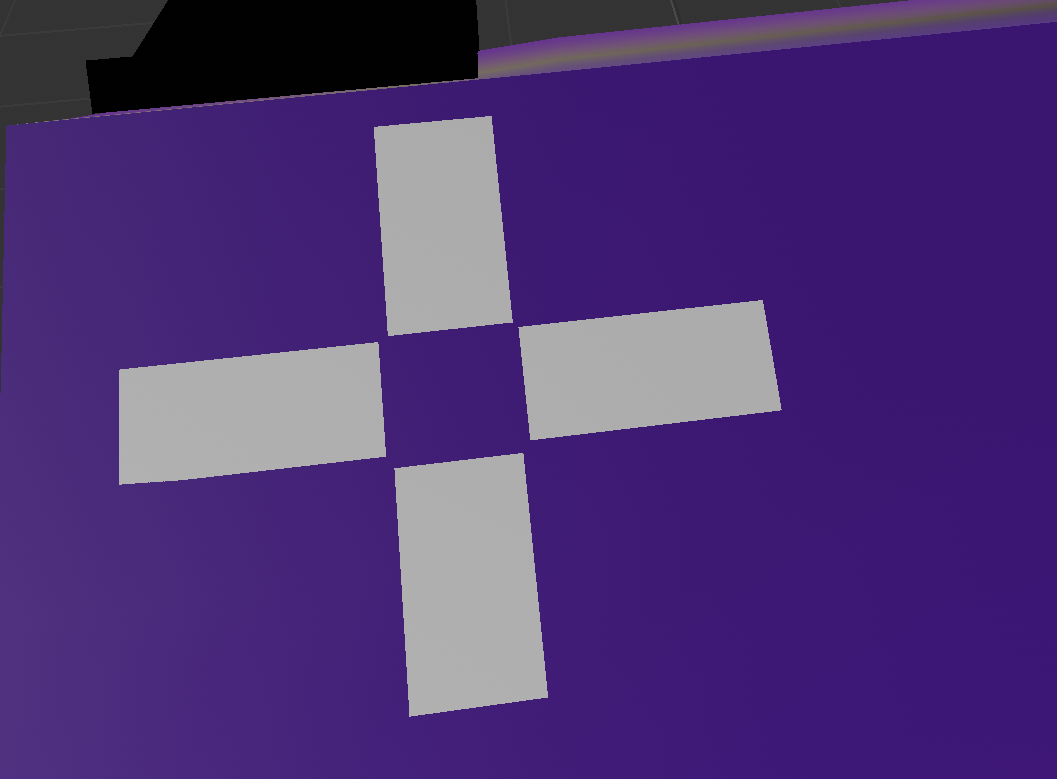
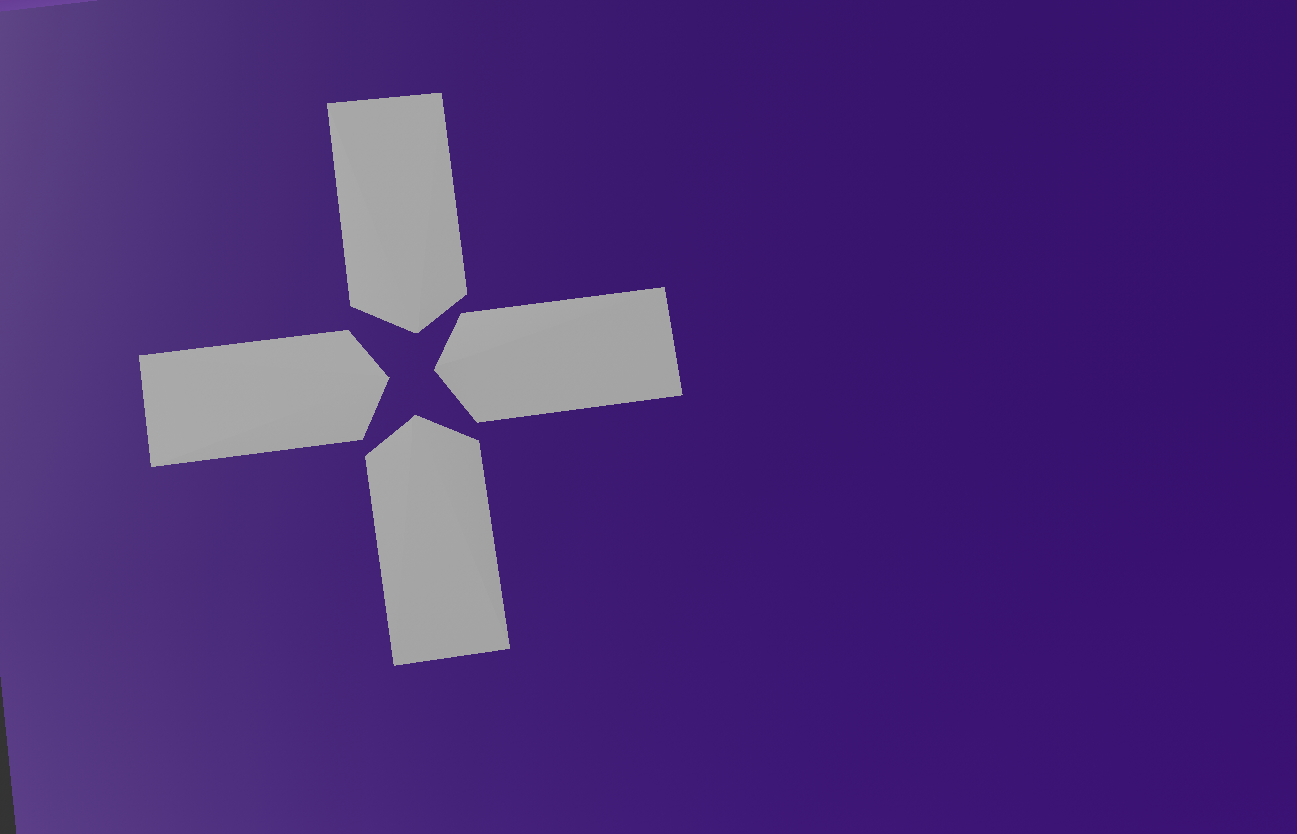
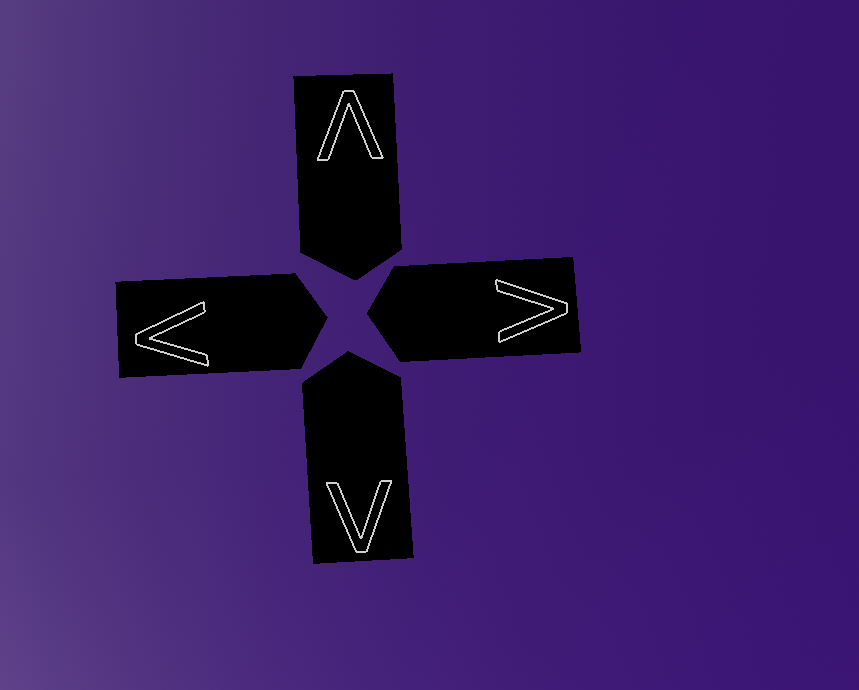
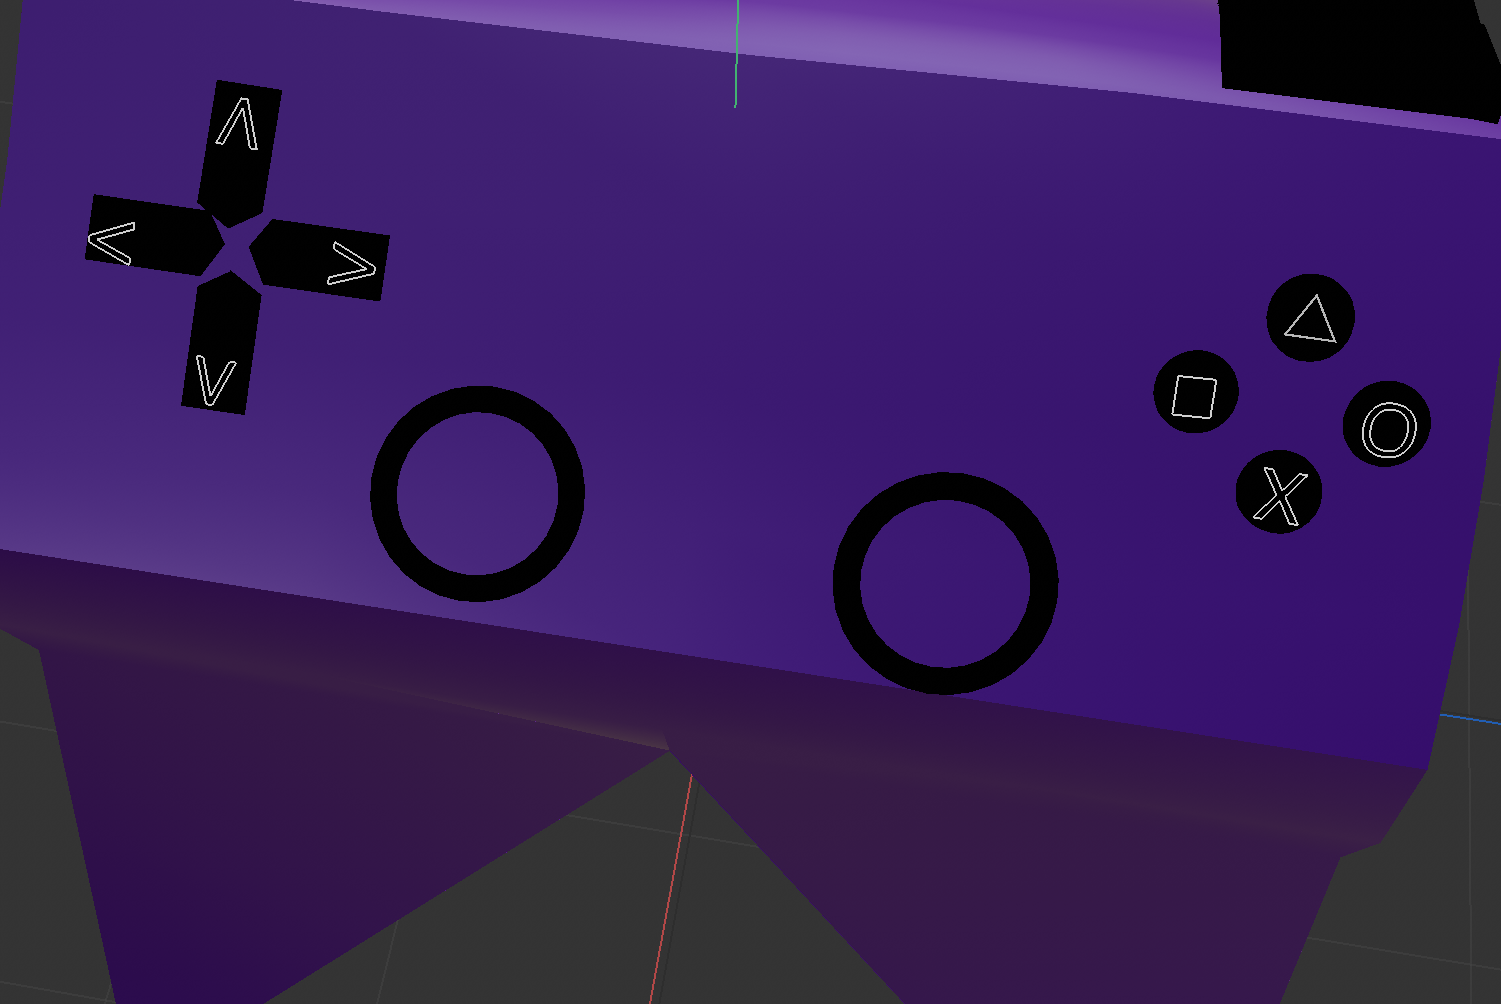
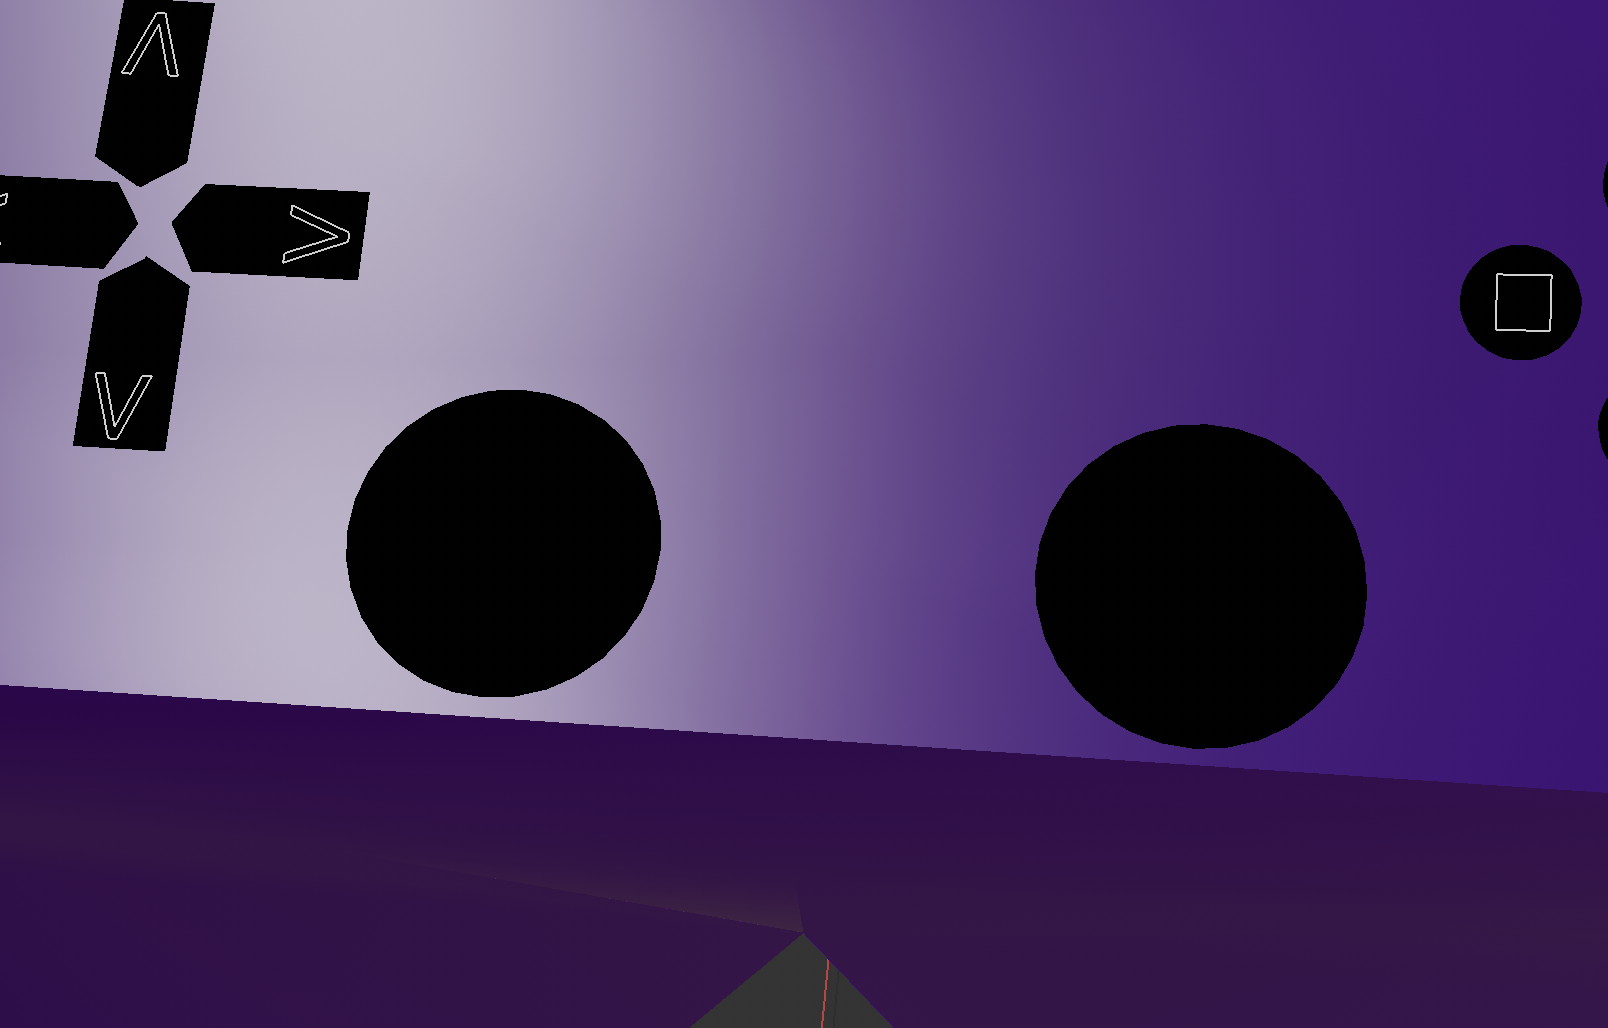
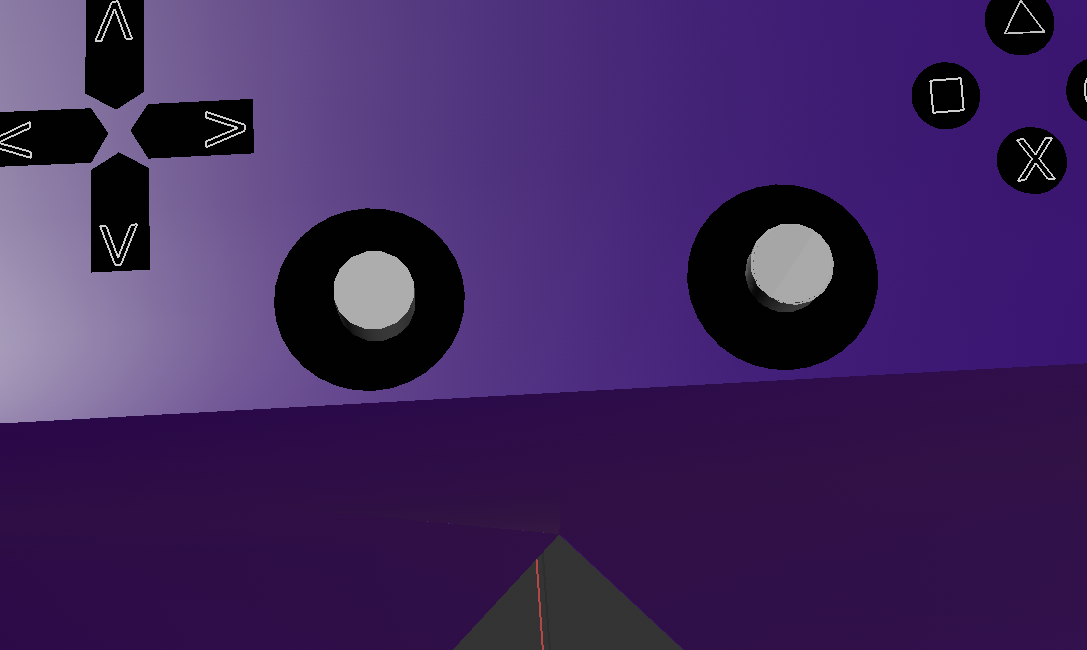
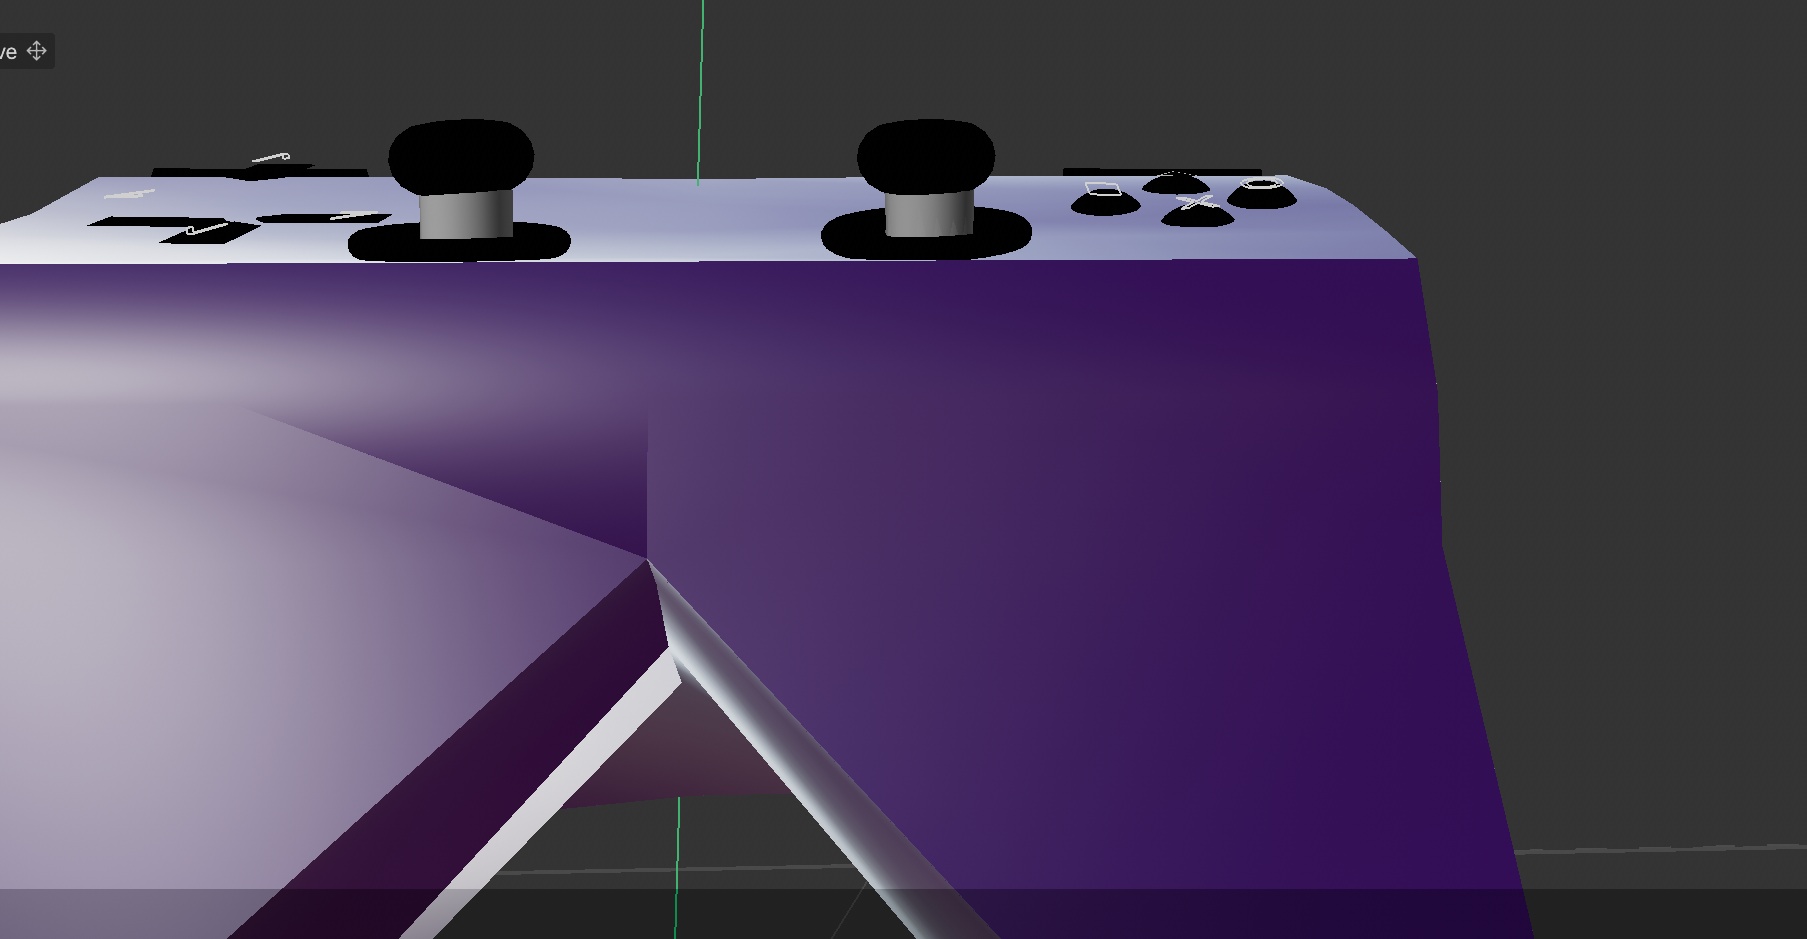
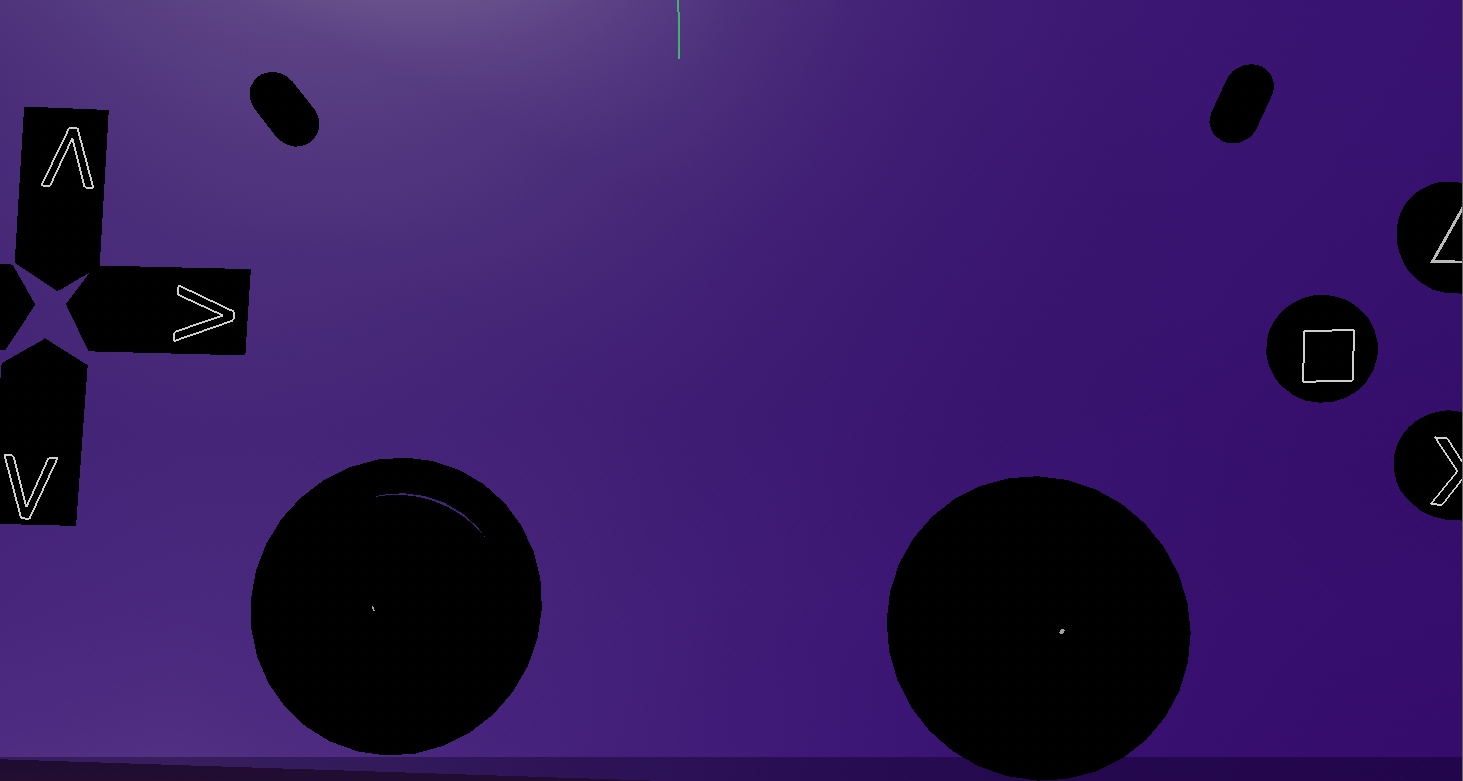
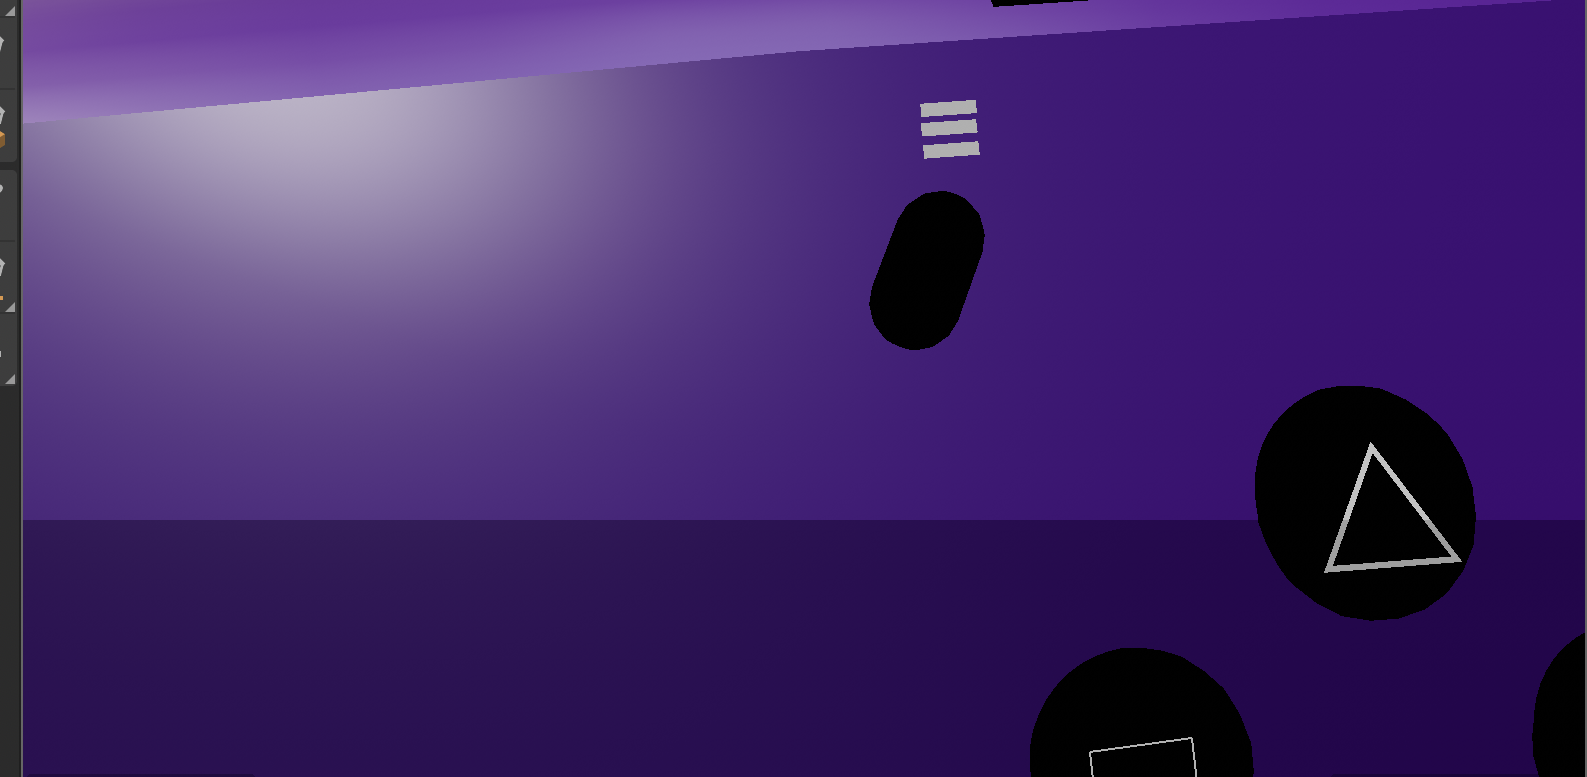
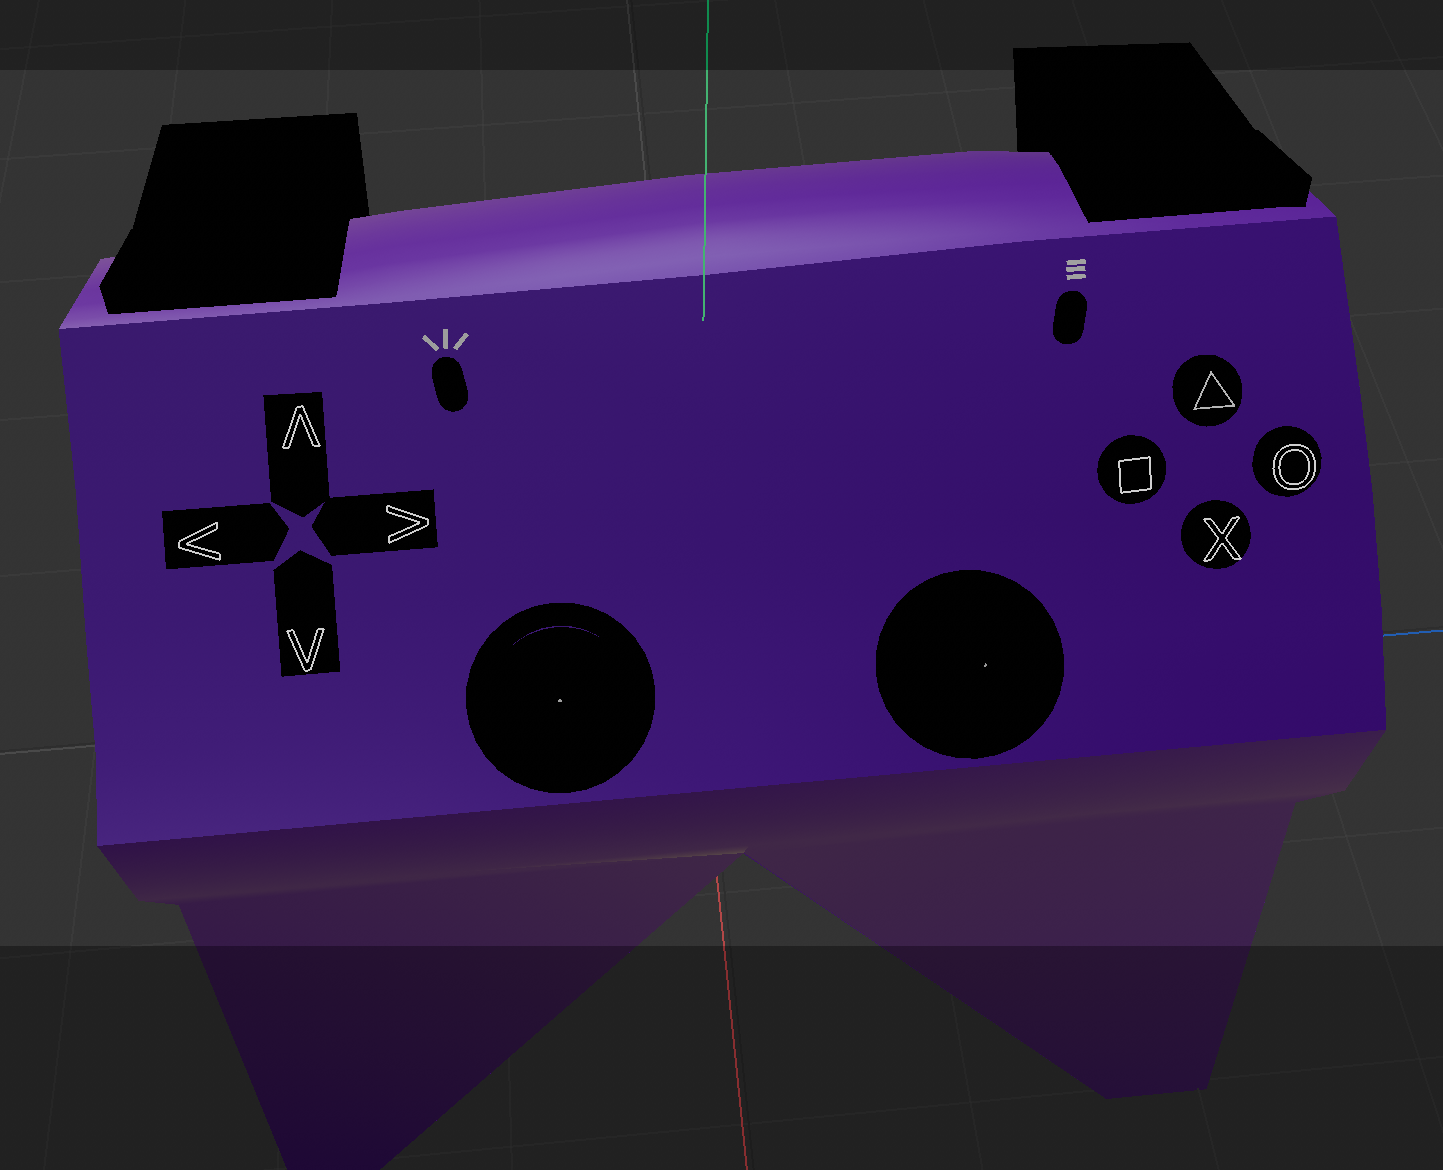
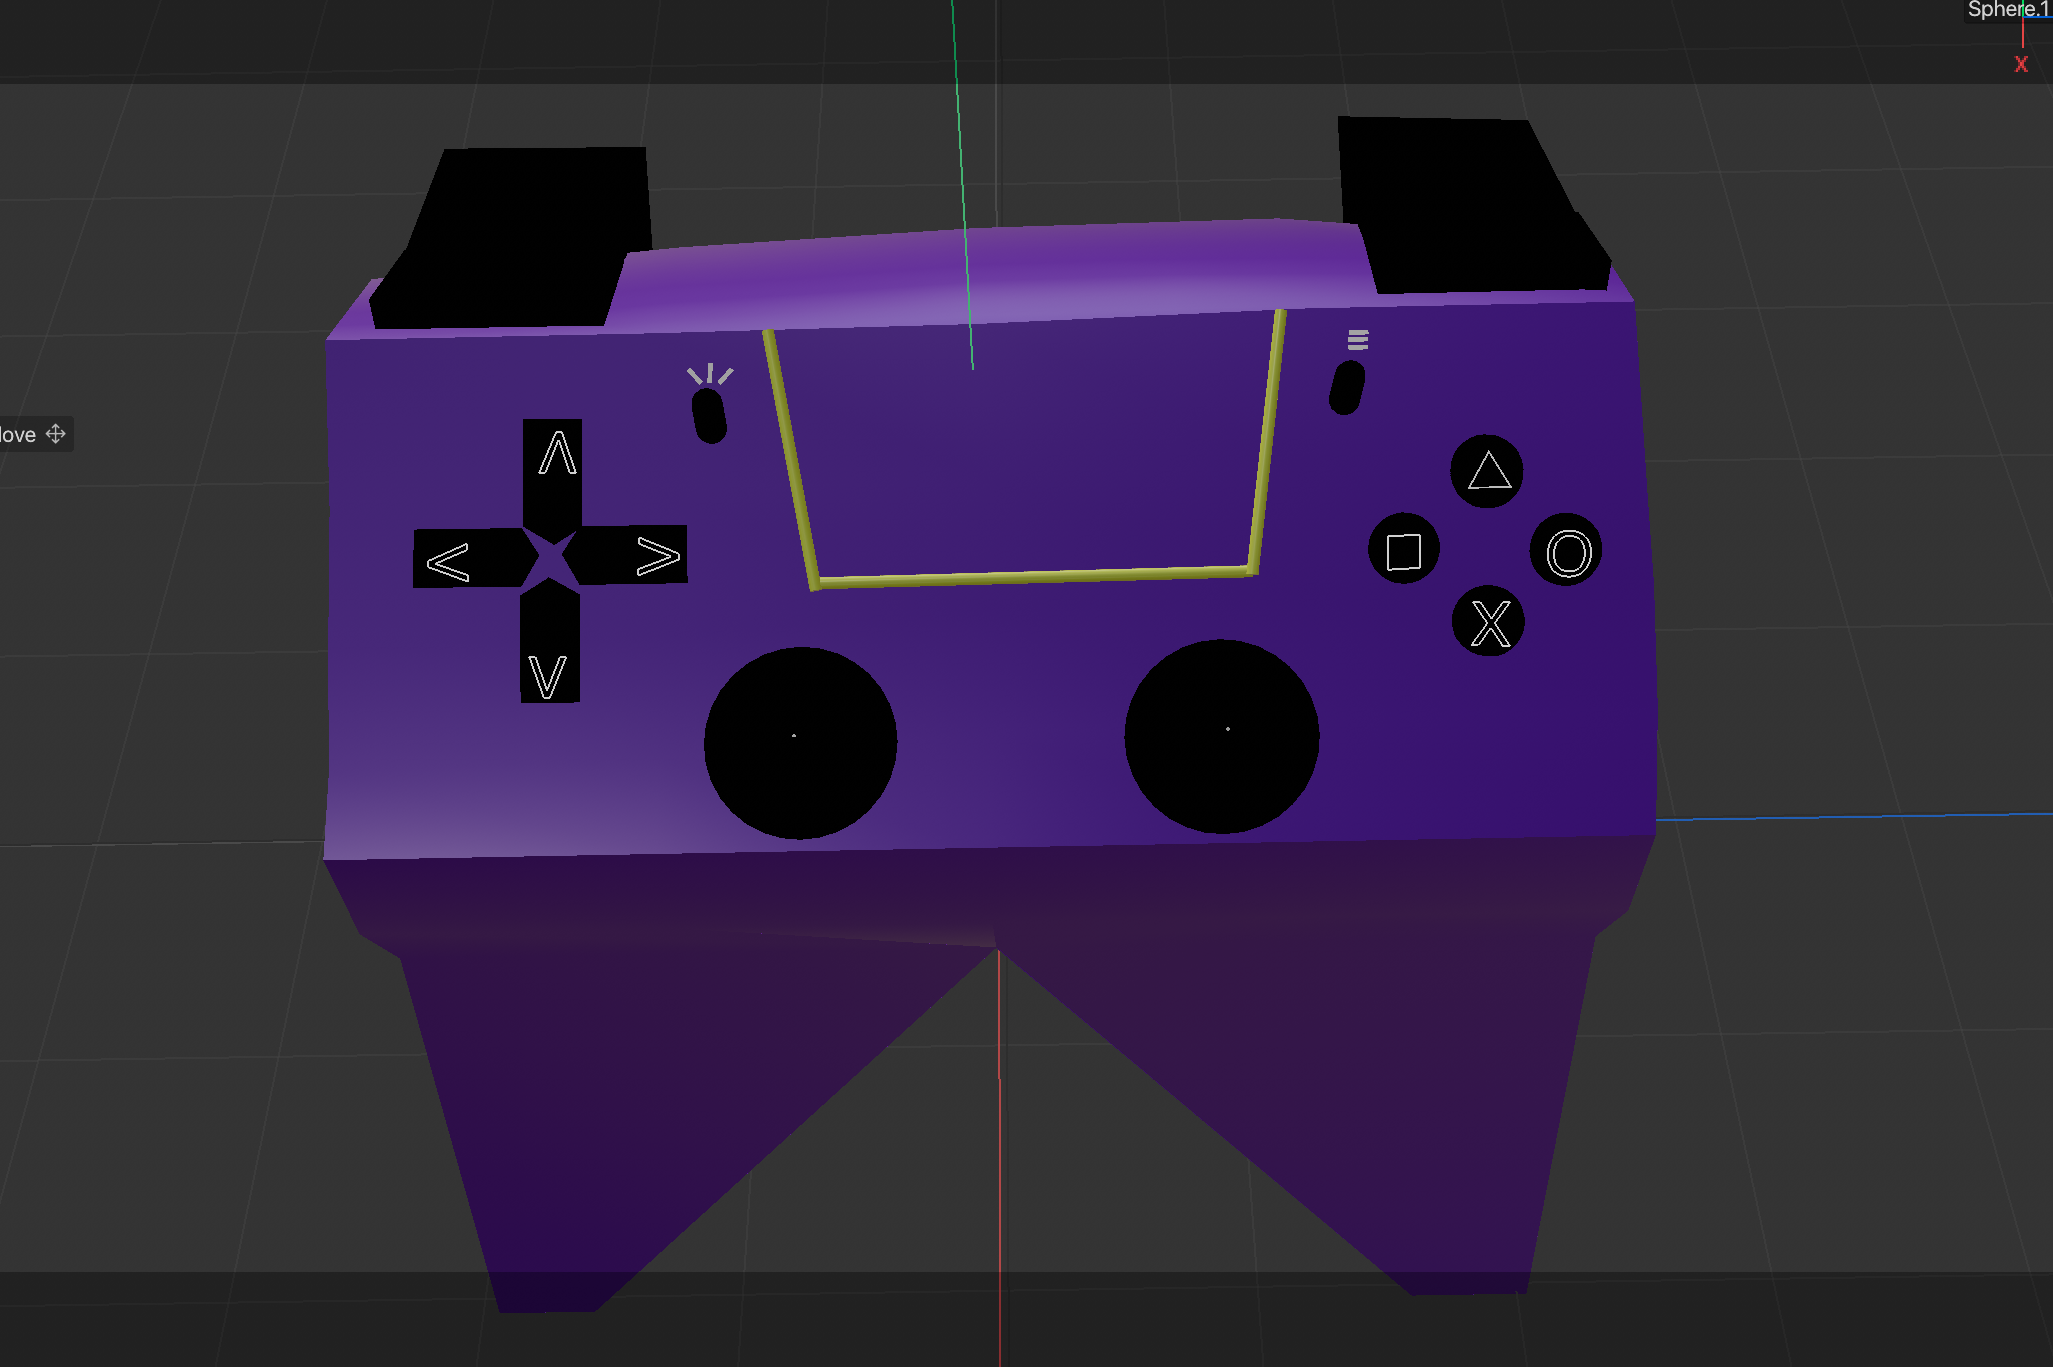
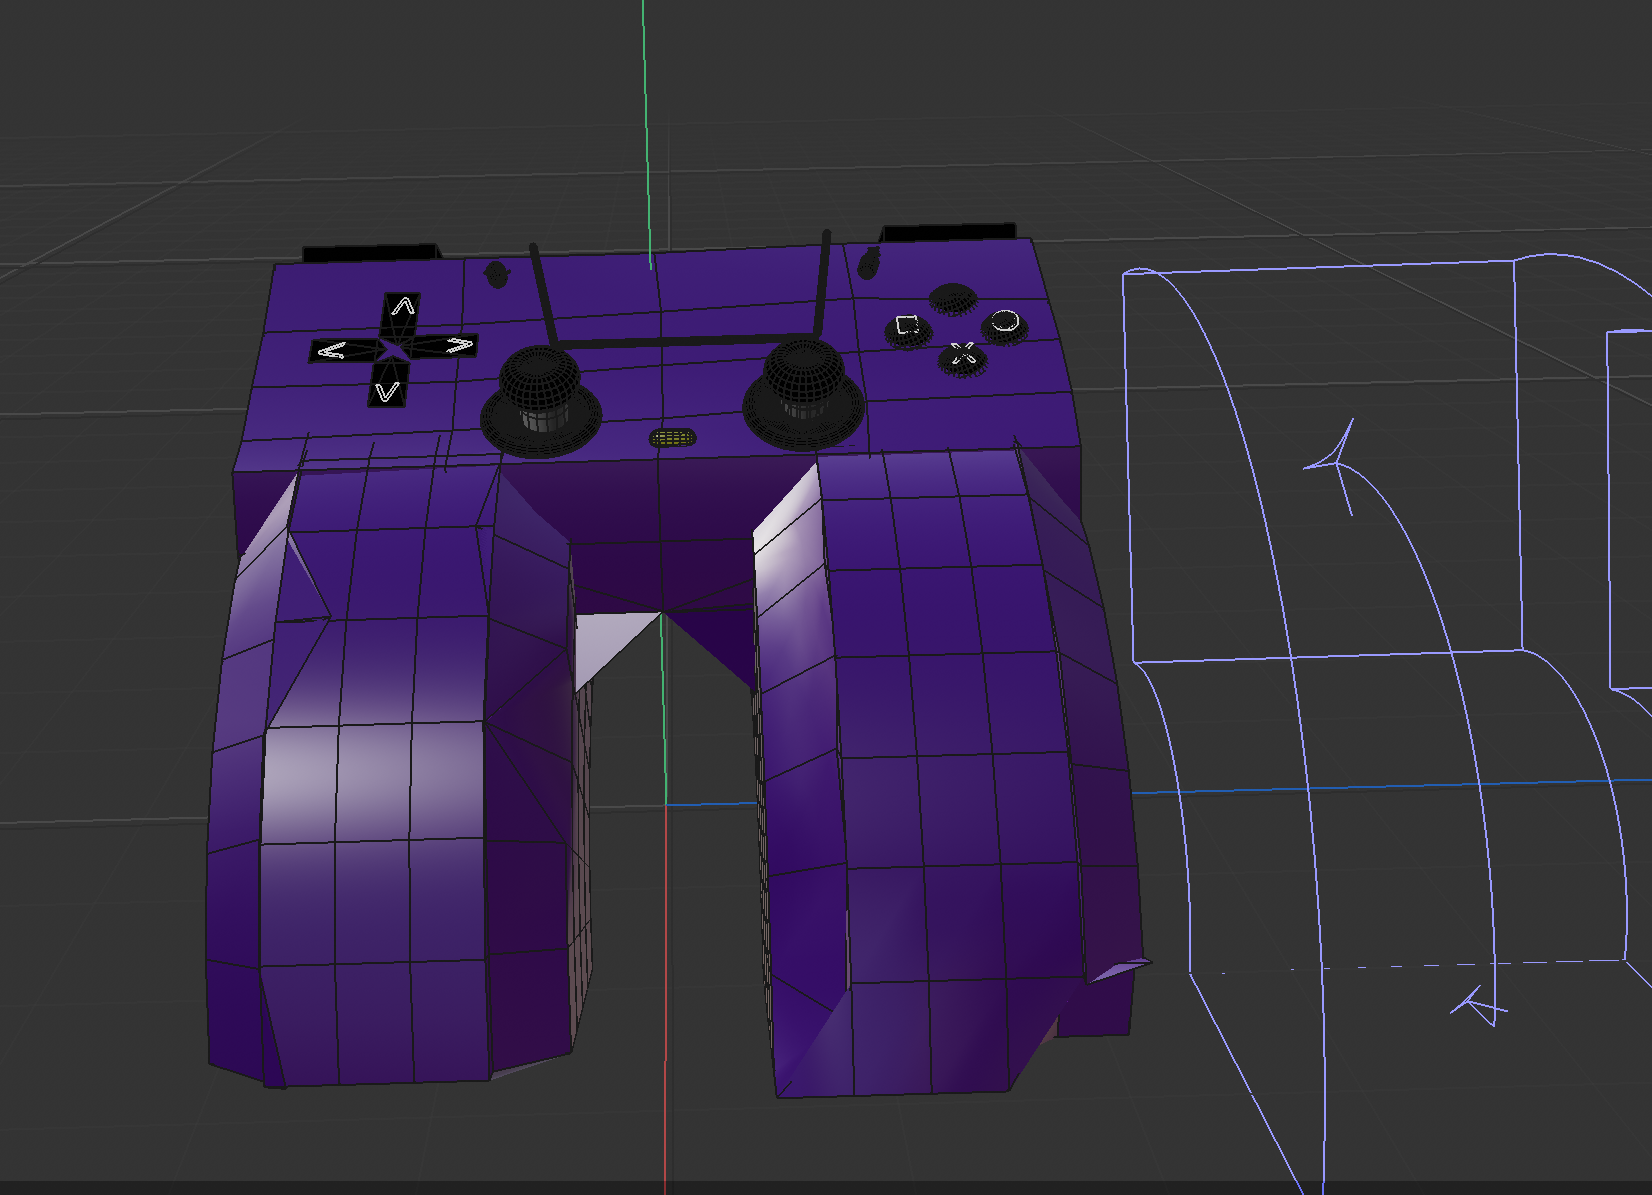
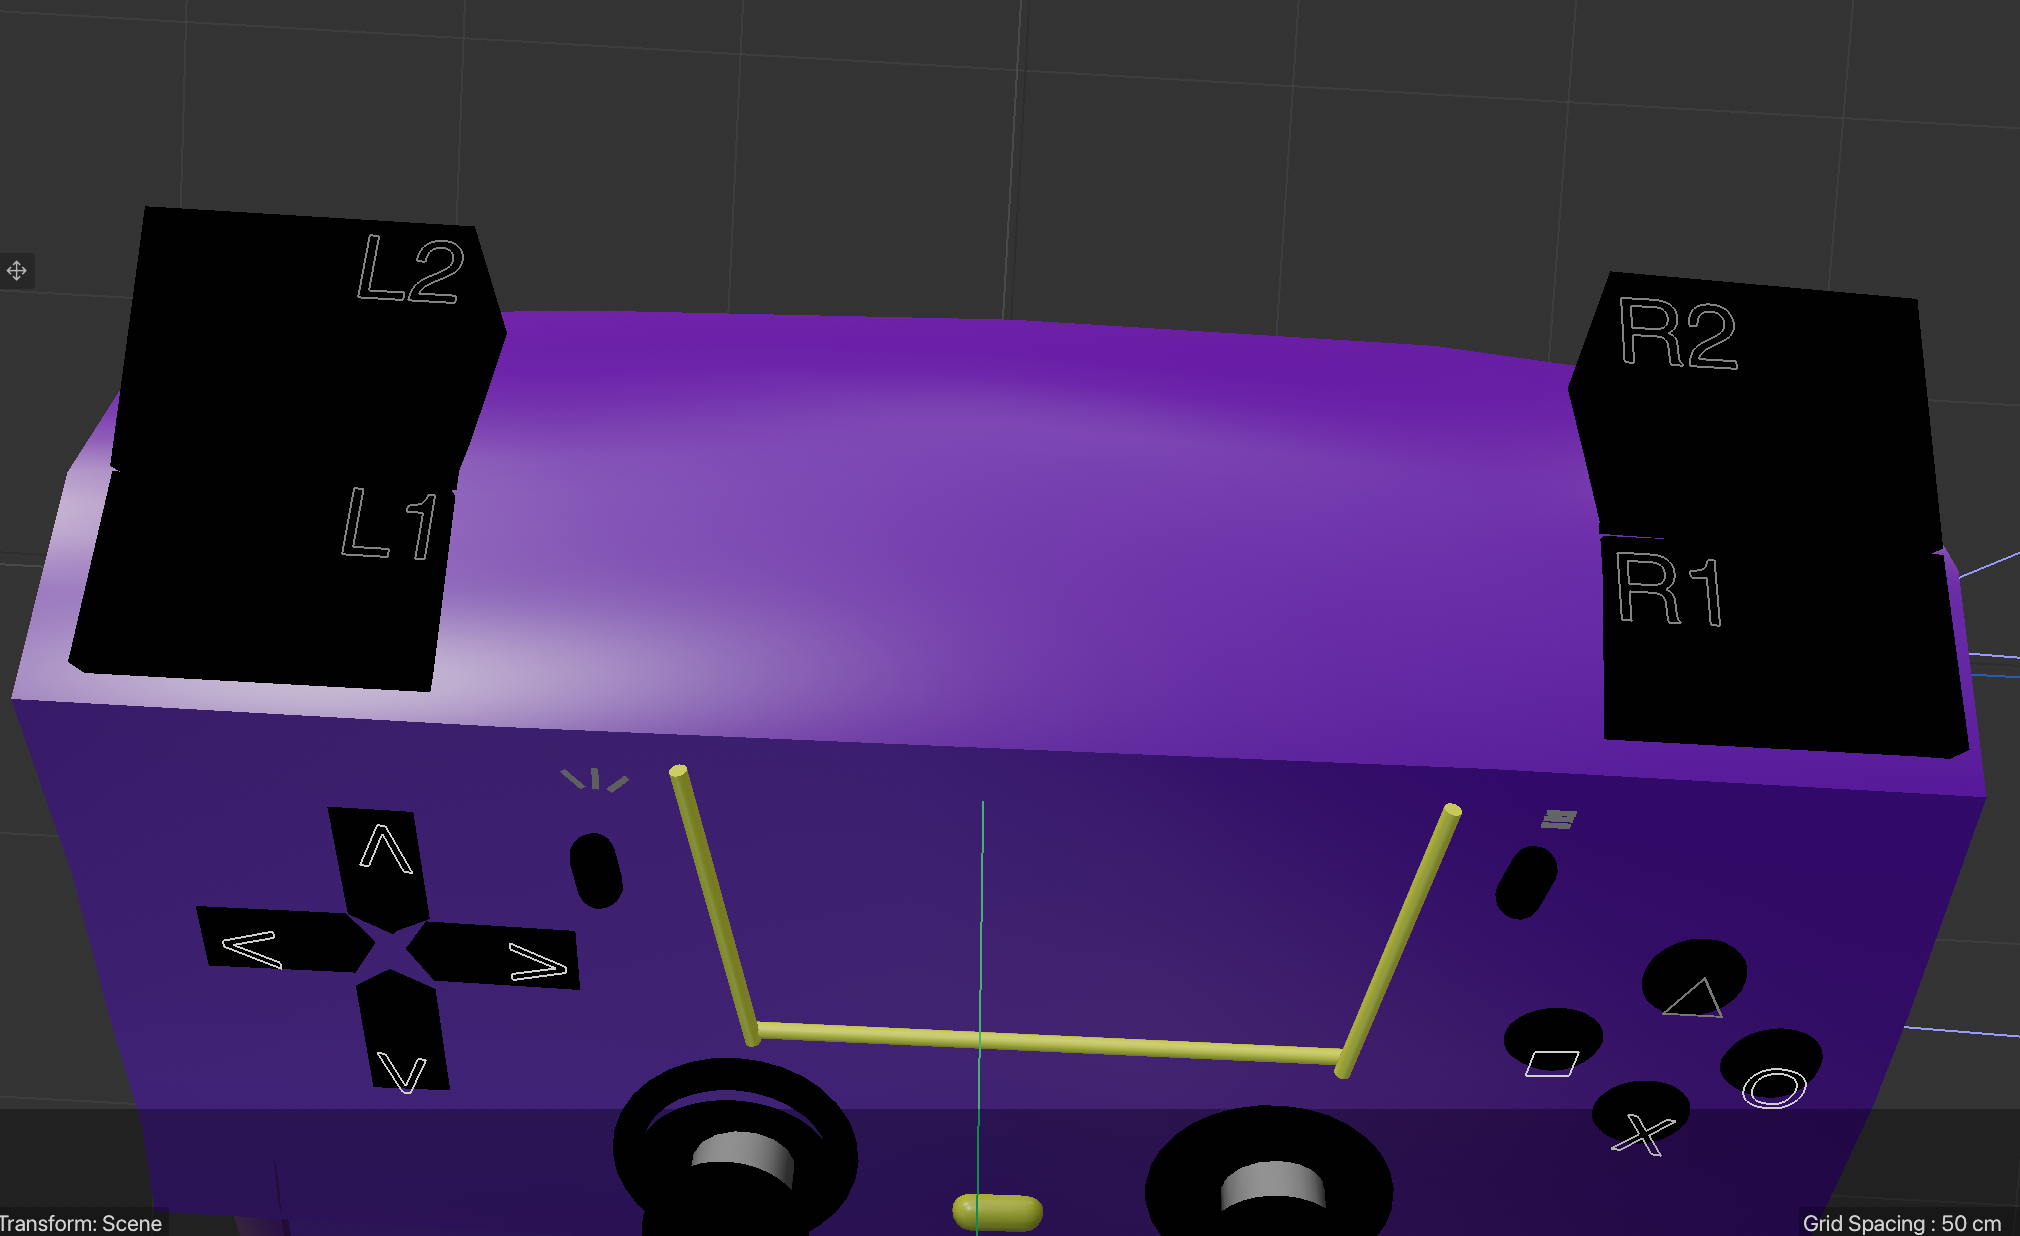
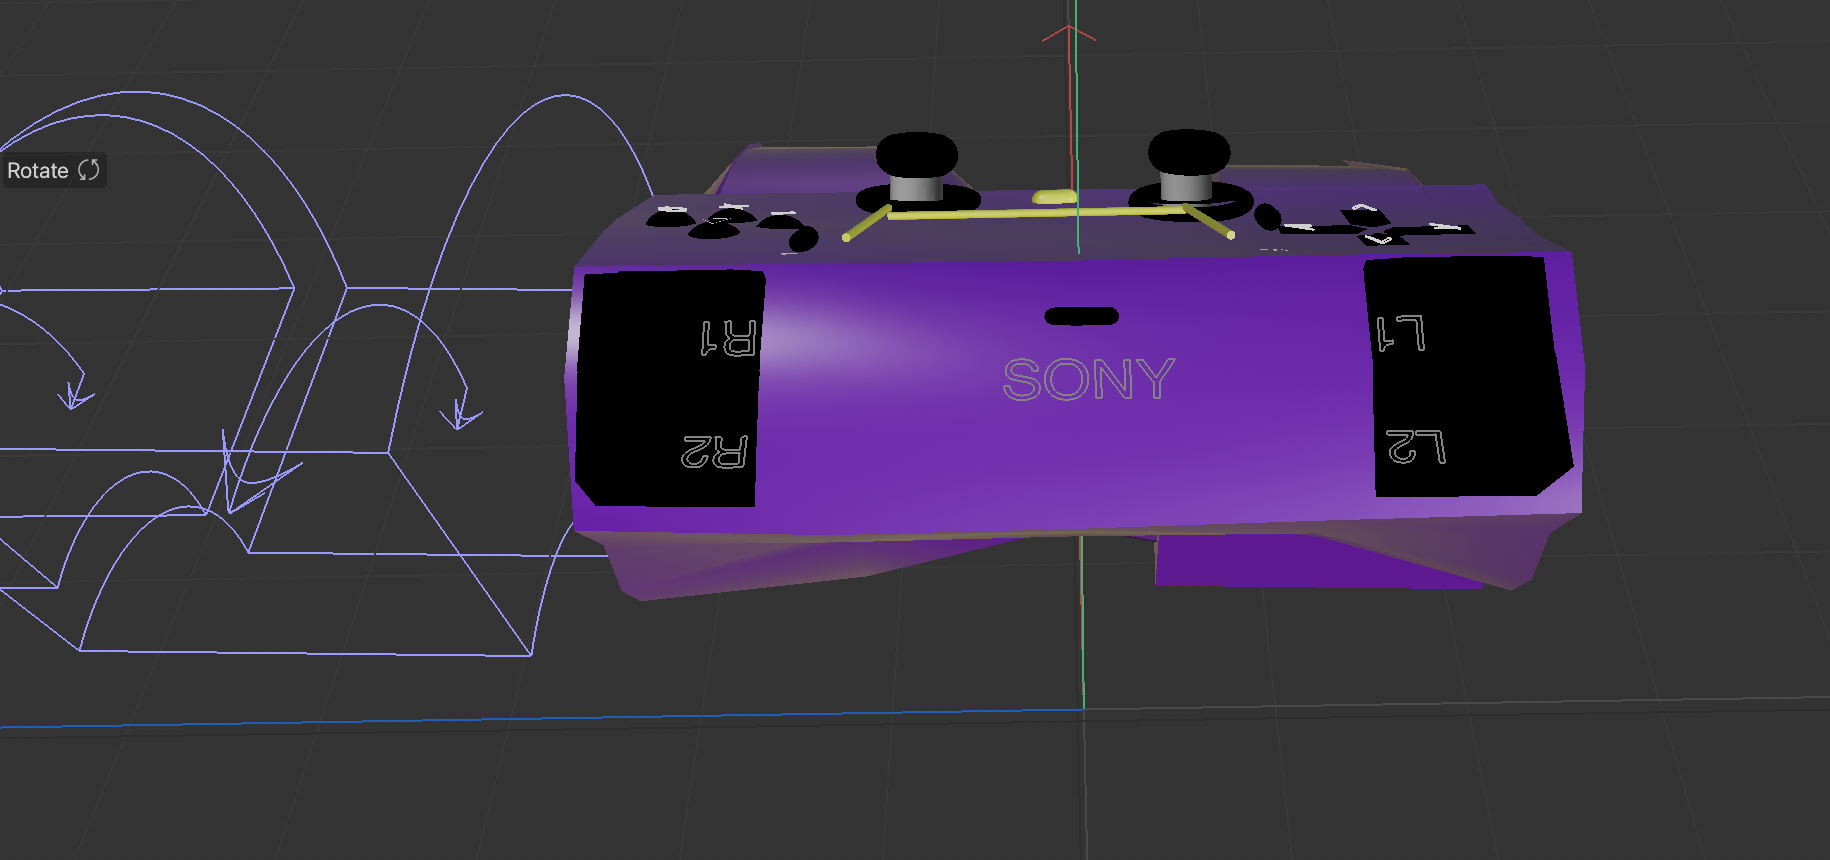
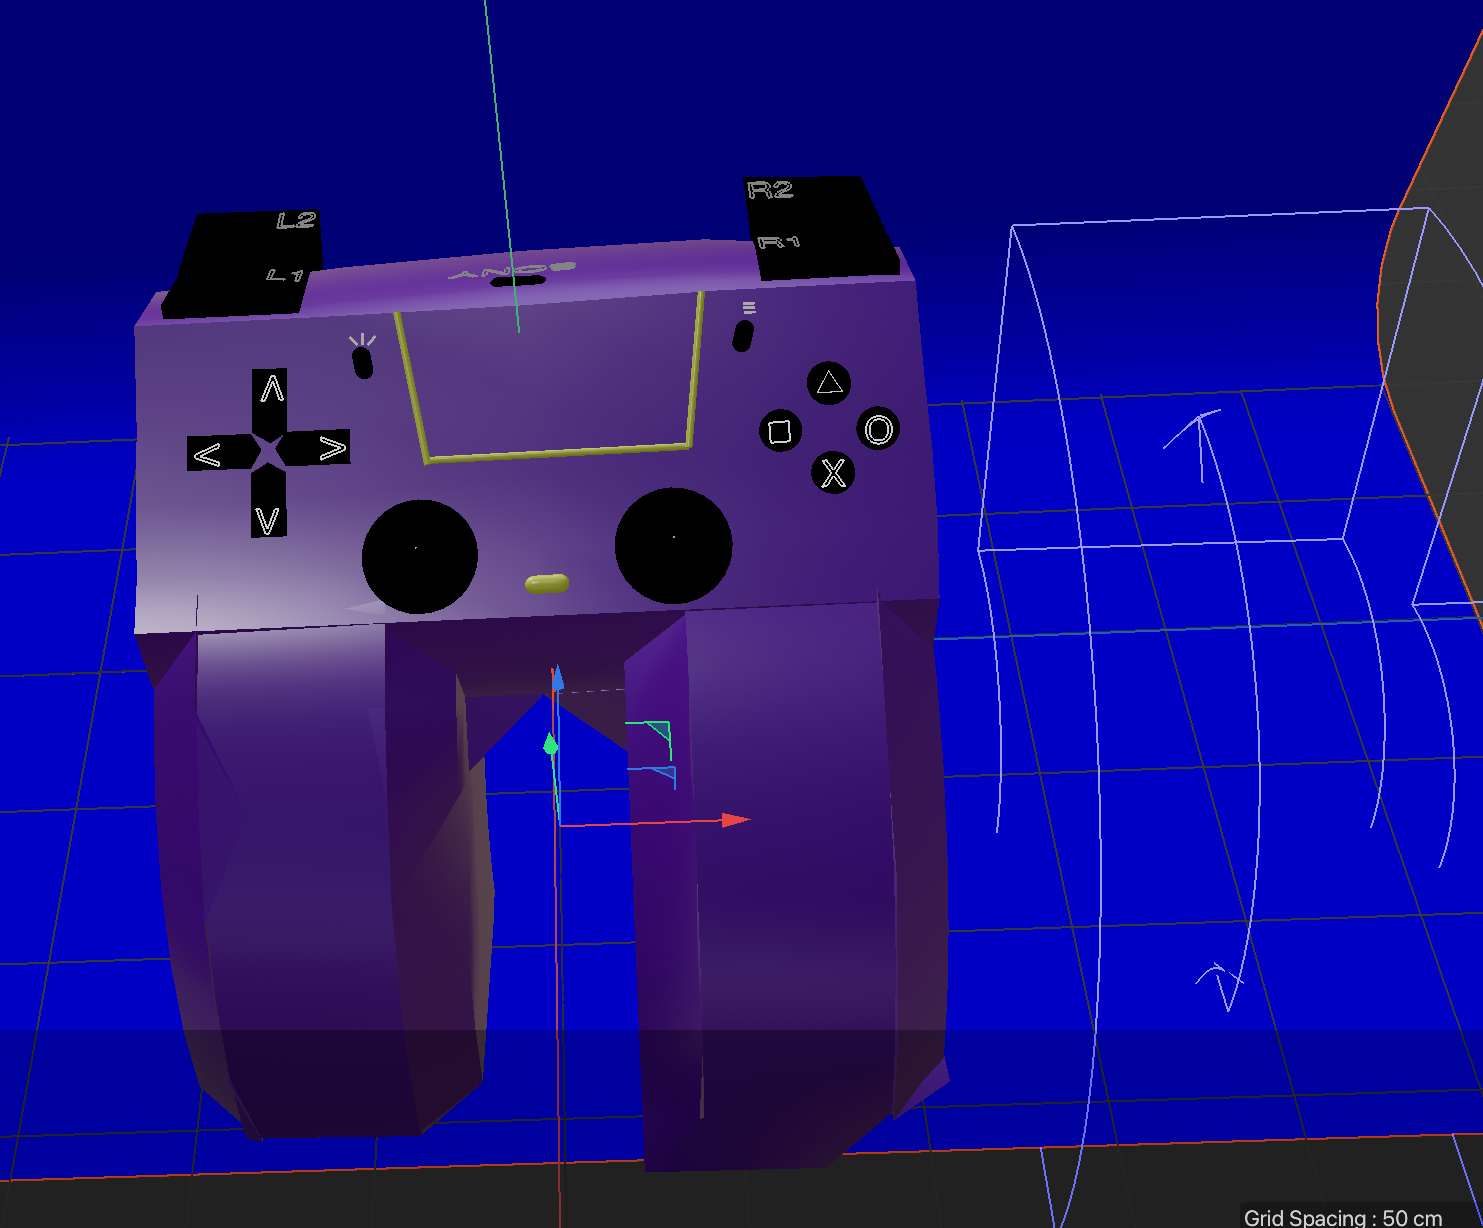
To start off the controller, I needed a good base for it so I used the cylinder tool for the entirty of the controllers body. In this image, I took that same cylinder and tured it sidways in order to mimic the controller layout when looking at it or placing it down. With this next step I gave the cylinder 5 segments in each of its axis and then convverted it into an editable object. In this image I went into the polygon mode and manipulasted each of the segments to make the handles for the controller. In this image I did the same thing with the polygon tool but this time I used it for the back of the controller in order to mimic the four bumper buttons consisting of L1, L2, R1, and R2 that will be shown in the later images. With the creation of the back bumpers from the last image, I was able to make the four buttons that correspond with each of the segments that I made for them. I used the cude shape for all four of the buttons and scaled them down to size. In this next image you can see that the front of the cylinder is now flattened in order to recreater the look of the front of the controller where all of the important buttons are. And speaking of the buttons, I then added four spheres from the cube object section and then scaled them down to the size they are on the controller. I then when into the material manager drop down menu and gave the controller and the buttons new colours to mimic the conroller I have in real life. In this image you can see that I changed the buttons back to there original colour as I was trying to give them more of a transparent texture, but it did not quite work out that way. But I did manage to use the text spline tool and make the four main buttons on every controller. For the other side of the controller, there are four arrow buttons with weird shhapes, but before I could play around with them I first had to use and scale down the cube tool again, but instead of making four I just made the one and then duplicated the rest and then rotated them accordingly. Now this specific shape was wierd to make but I used the points mode in the menu in order to manipulate one side of the rectangle into a triangle shape. With those shapes created, I then changed the colour of all four of the shapes and then added the arrow keys using the text spline once again. Now for this image, I used the torus tool and duplicated it and changed the colour to black. These torus' are the placeholders for the joysticks. I then used the disc object in order to cover the bottoms of the soon to be joy sticks. For this image, I used the cylinder from the objects menu and I used them to make the joy sticks themselves. And for this image I used the torus shape again from the objects menu in order to make the top of the joysticks. Now, for these two diagonal buttons at the top of the controller are ment to represent the options and menu buttons. And I used the capsule shape from the objects menu to make them. This image is a close up of that same image from before but I added the icons at the top indicating which button it is for on the controller. And I used the three lines from the Cube object once again and I then scaled them down to size and duplicated them. This is a image of the whole controller that I had thus far. My original plan was to leave the way it was but it looked very plain and had a good amount of details missing. With all PlayStation controllers there is a square light bar in the center that lights up when you play games. In this case I chose the colour yellow as that colour represents the controller charging when lit up. In the last image I was taking a look at the handles of the controller and the ends looked way too pointy and not at all resembling the look of any controller. So I used the cube object again and gave it some segments and added a bend tool in order to give the handles the bending look. In addition, I also used the points mode in order to make the edges more rounded. As mentioned in the 5th image, I made bumpers for the back of the controller for the four buttons. In this image I used the text spline tool and put the text of all the buttons in the correct spots. I then added the sony logo at the back of the controller and also added a charging cable slot with the capsule shape and it connects perfectly with the charging light bar from earlier. And this is the final design of the PlayStation5 controller with another addition. On every playstation controller there is a 'mute controller' button in the middle of the two joysticks, and when the light is yellow it means that it is on. I also added a blue backdrop to make the controller stand out more.

Material Workshop 1
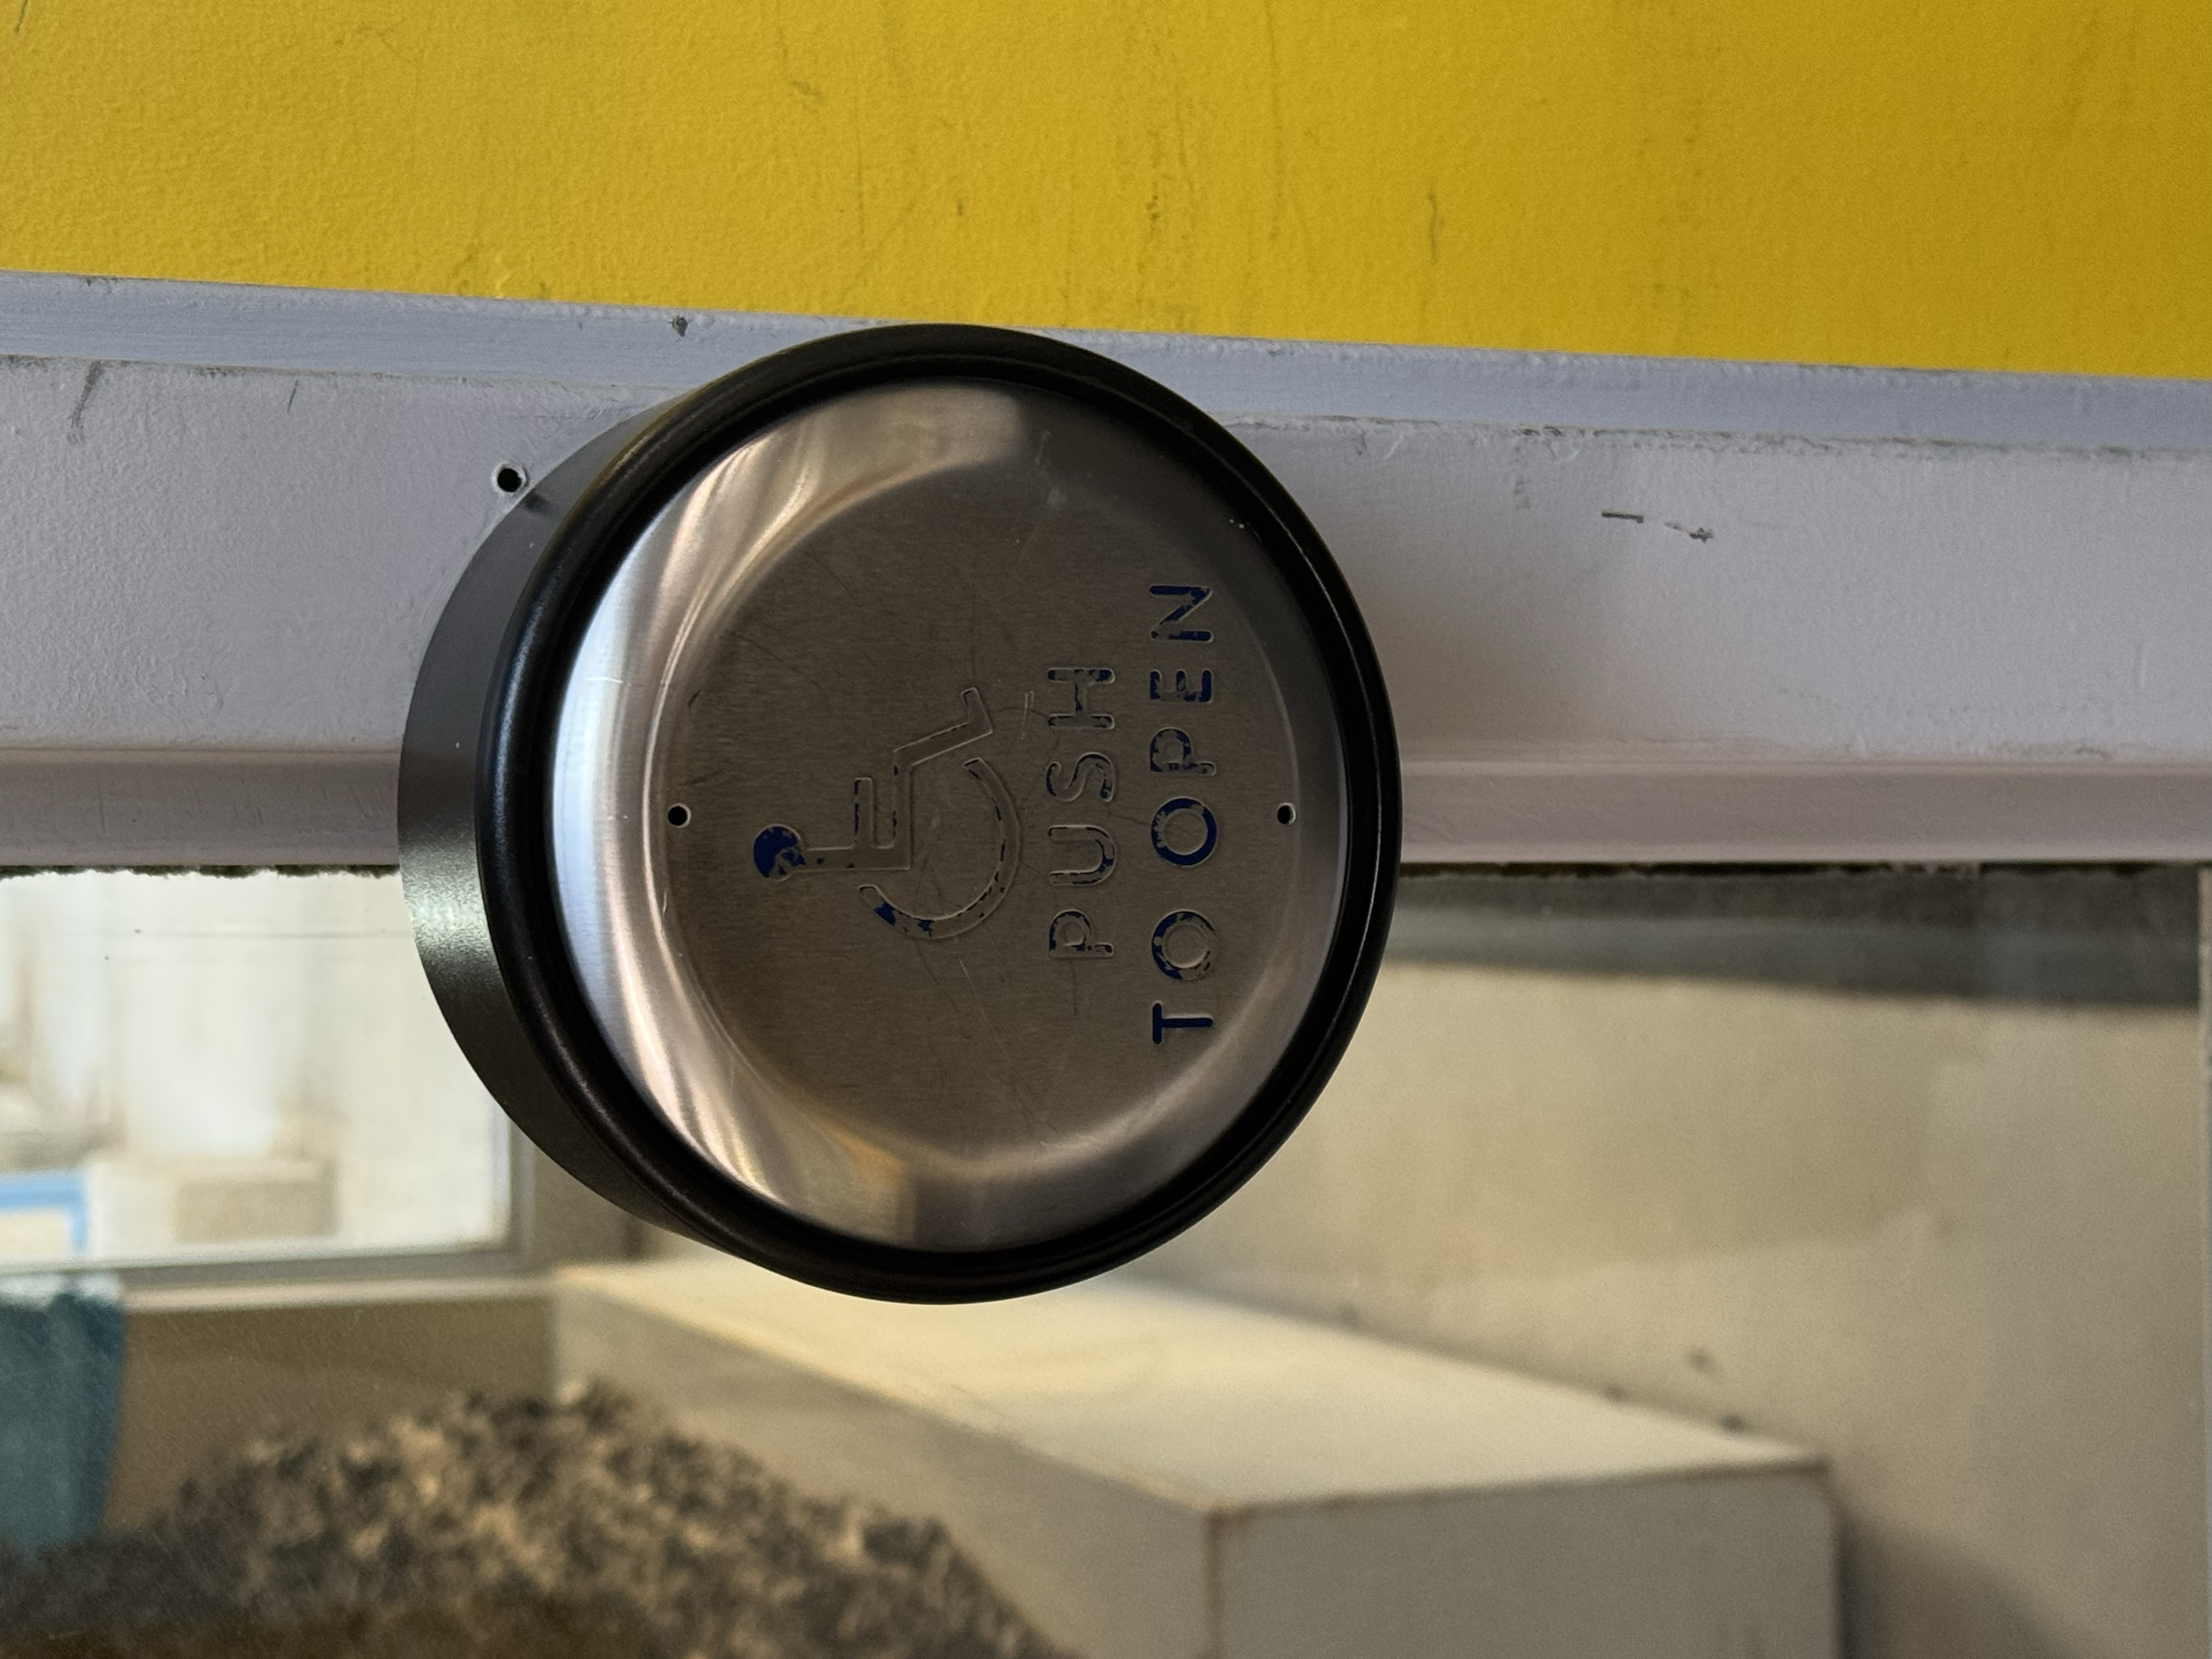
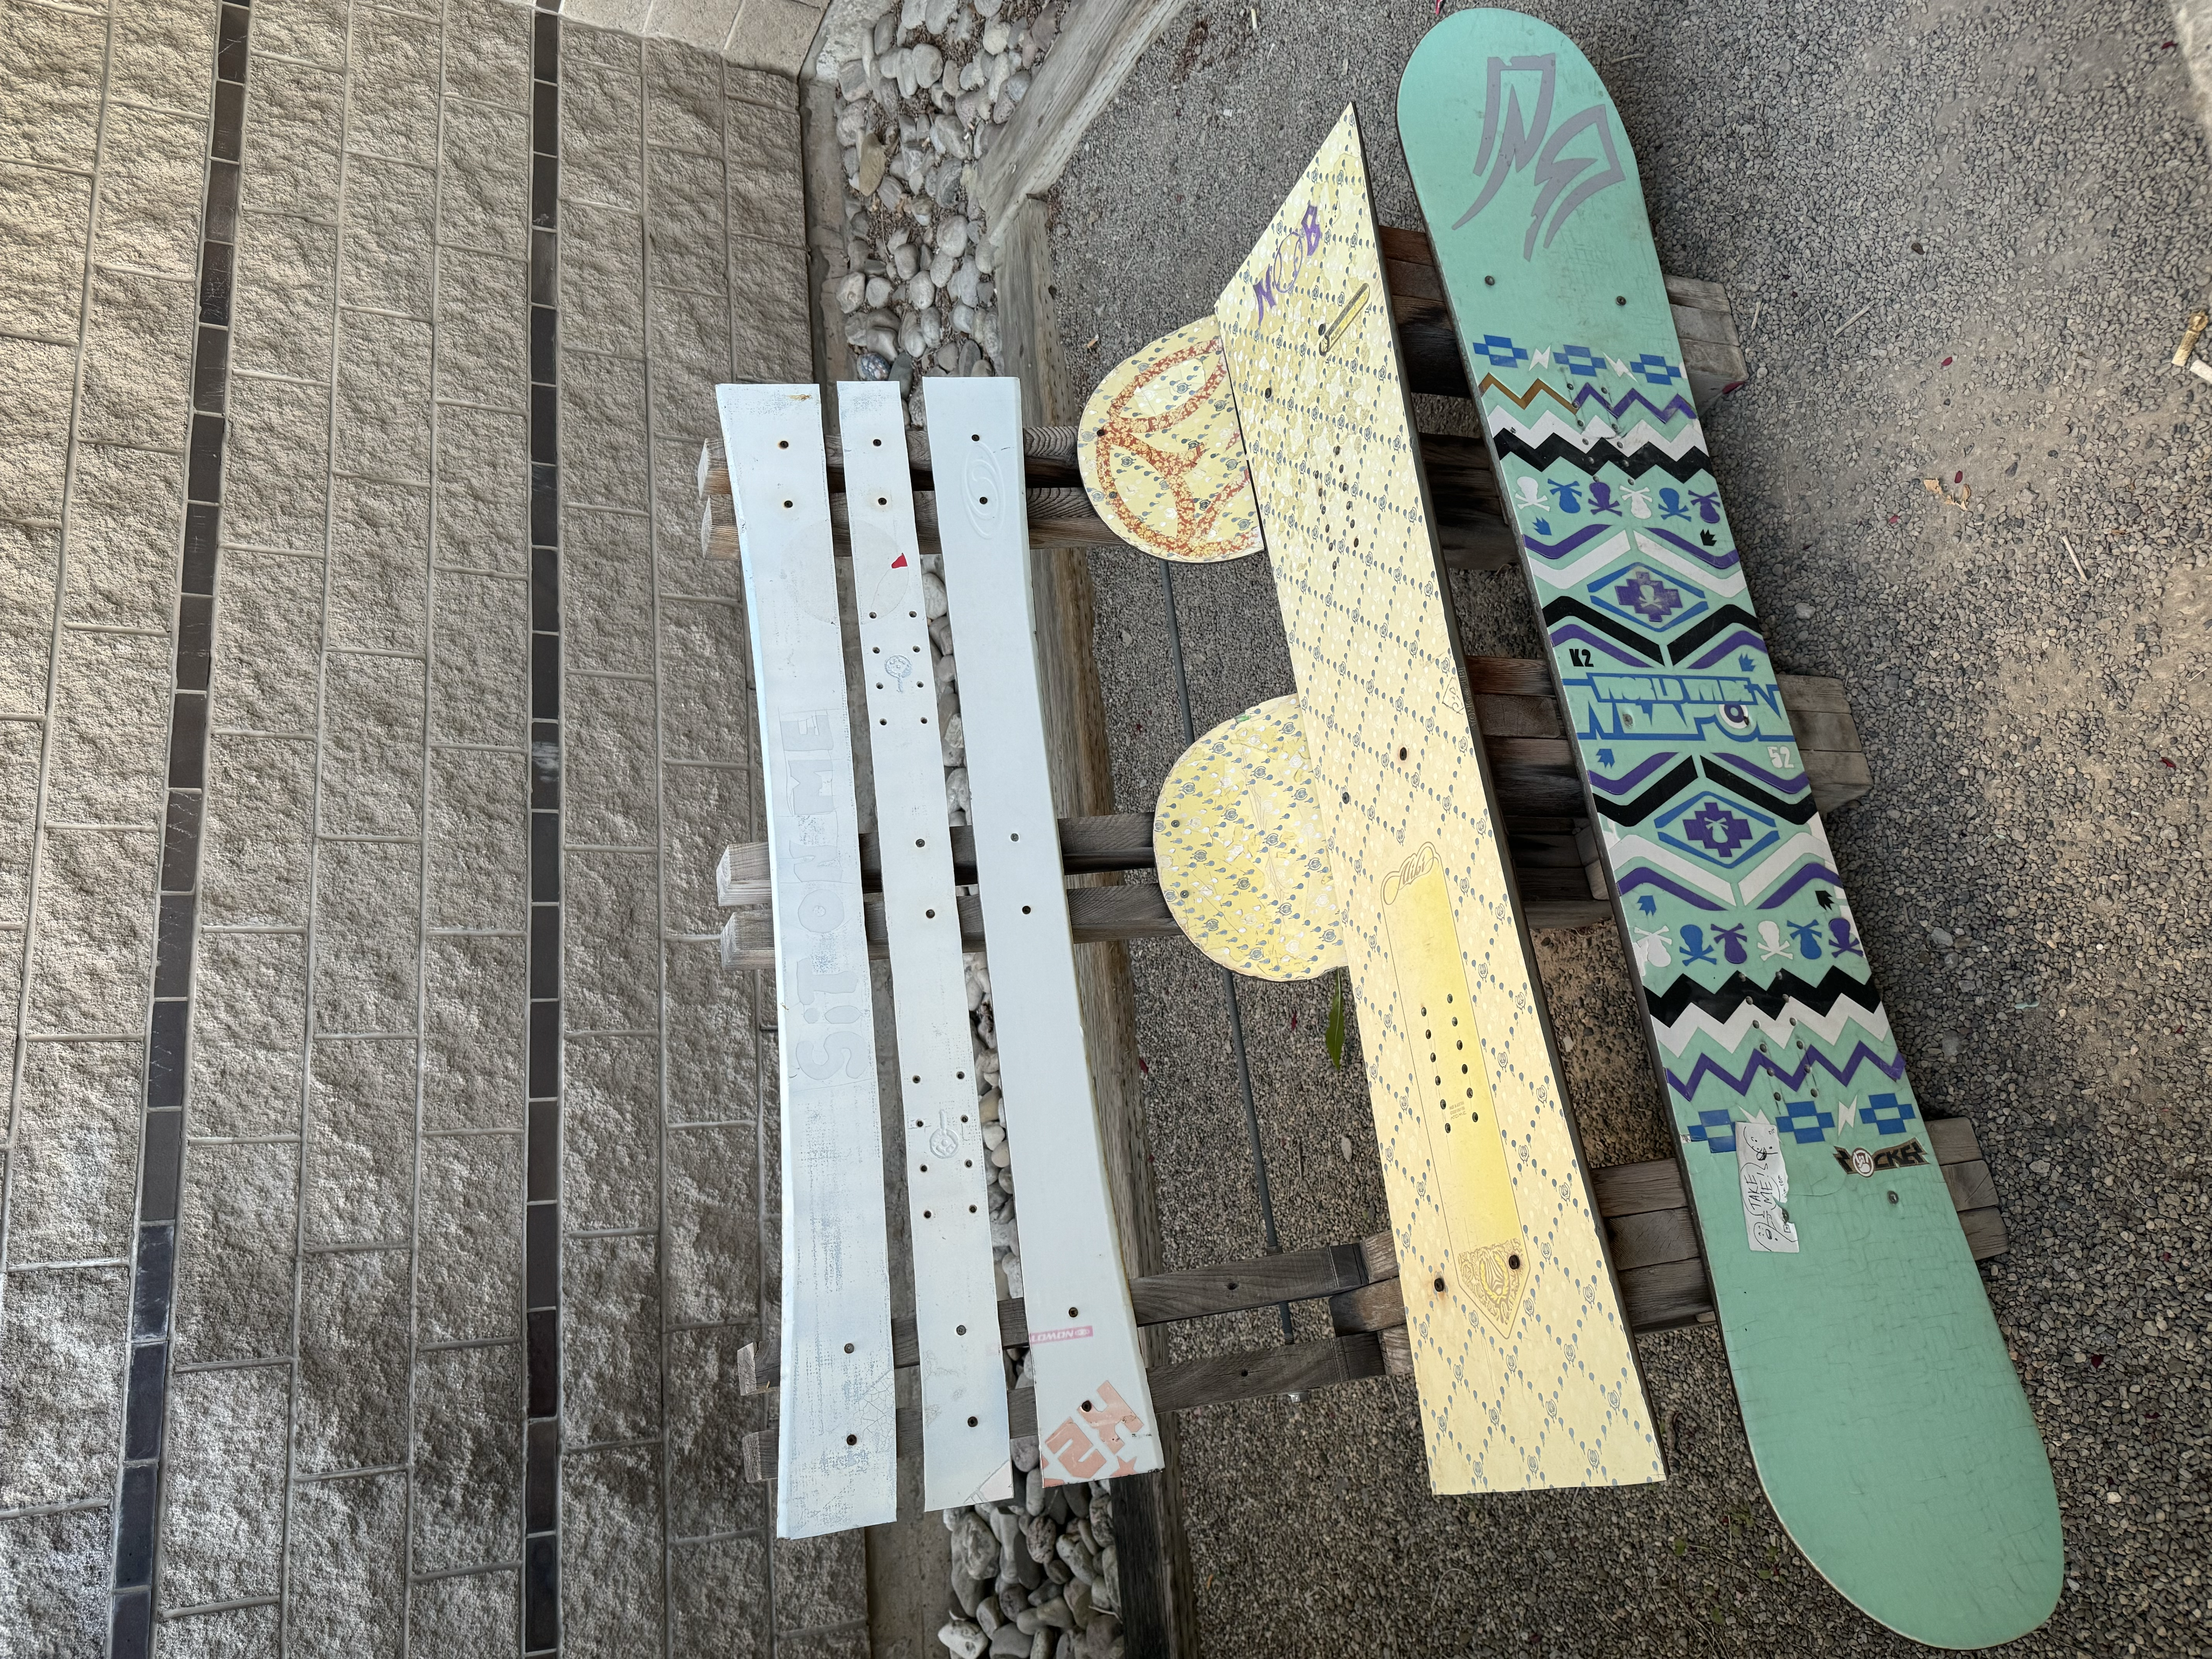
This first photo is of a metal/stainless steel button used for openning and closing the doors to the school. This material can be used for creating glossy and smooth textures in 3D modeling. The second image is of a bench made of stone. This stone material is used for creating realistic surfaces with rough textures for 3D modeling. It is also used for construction mainly in the real world. The third image is of a bench outside of the school. This material is used to make furtature, decorative enviroments, and also for any structual or architectural designs within 3D modeling.

Material Workshop 2

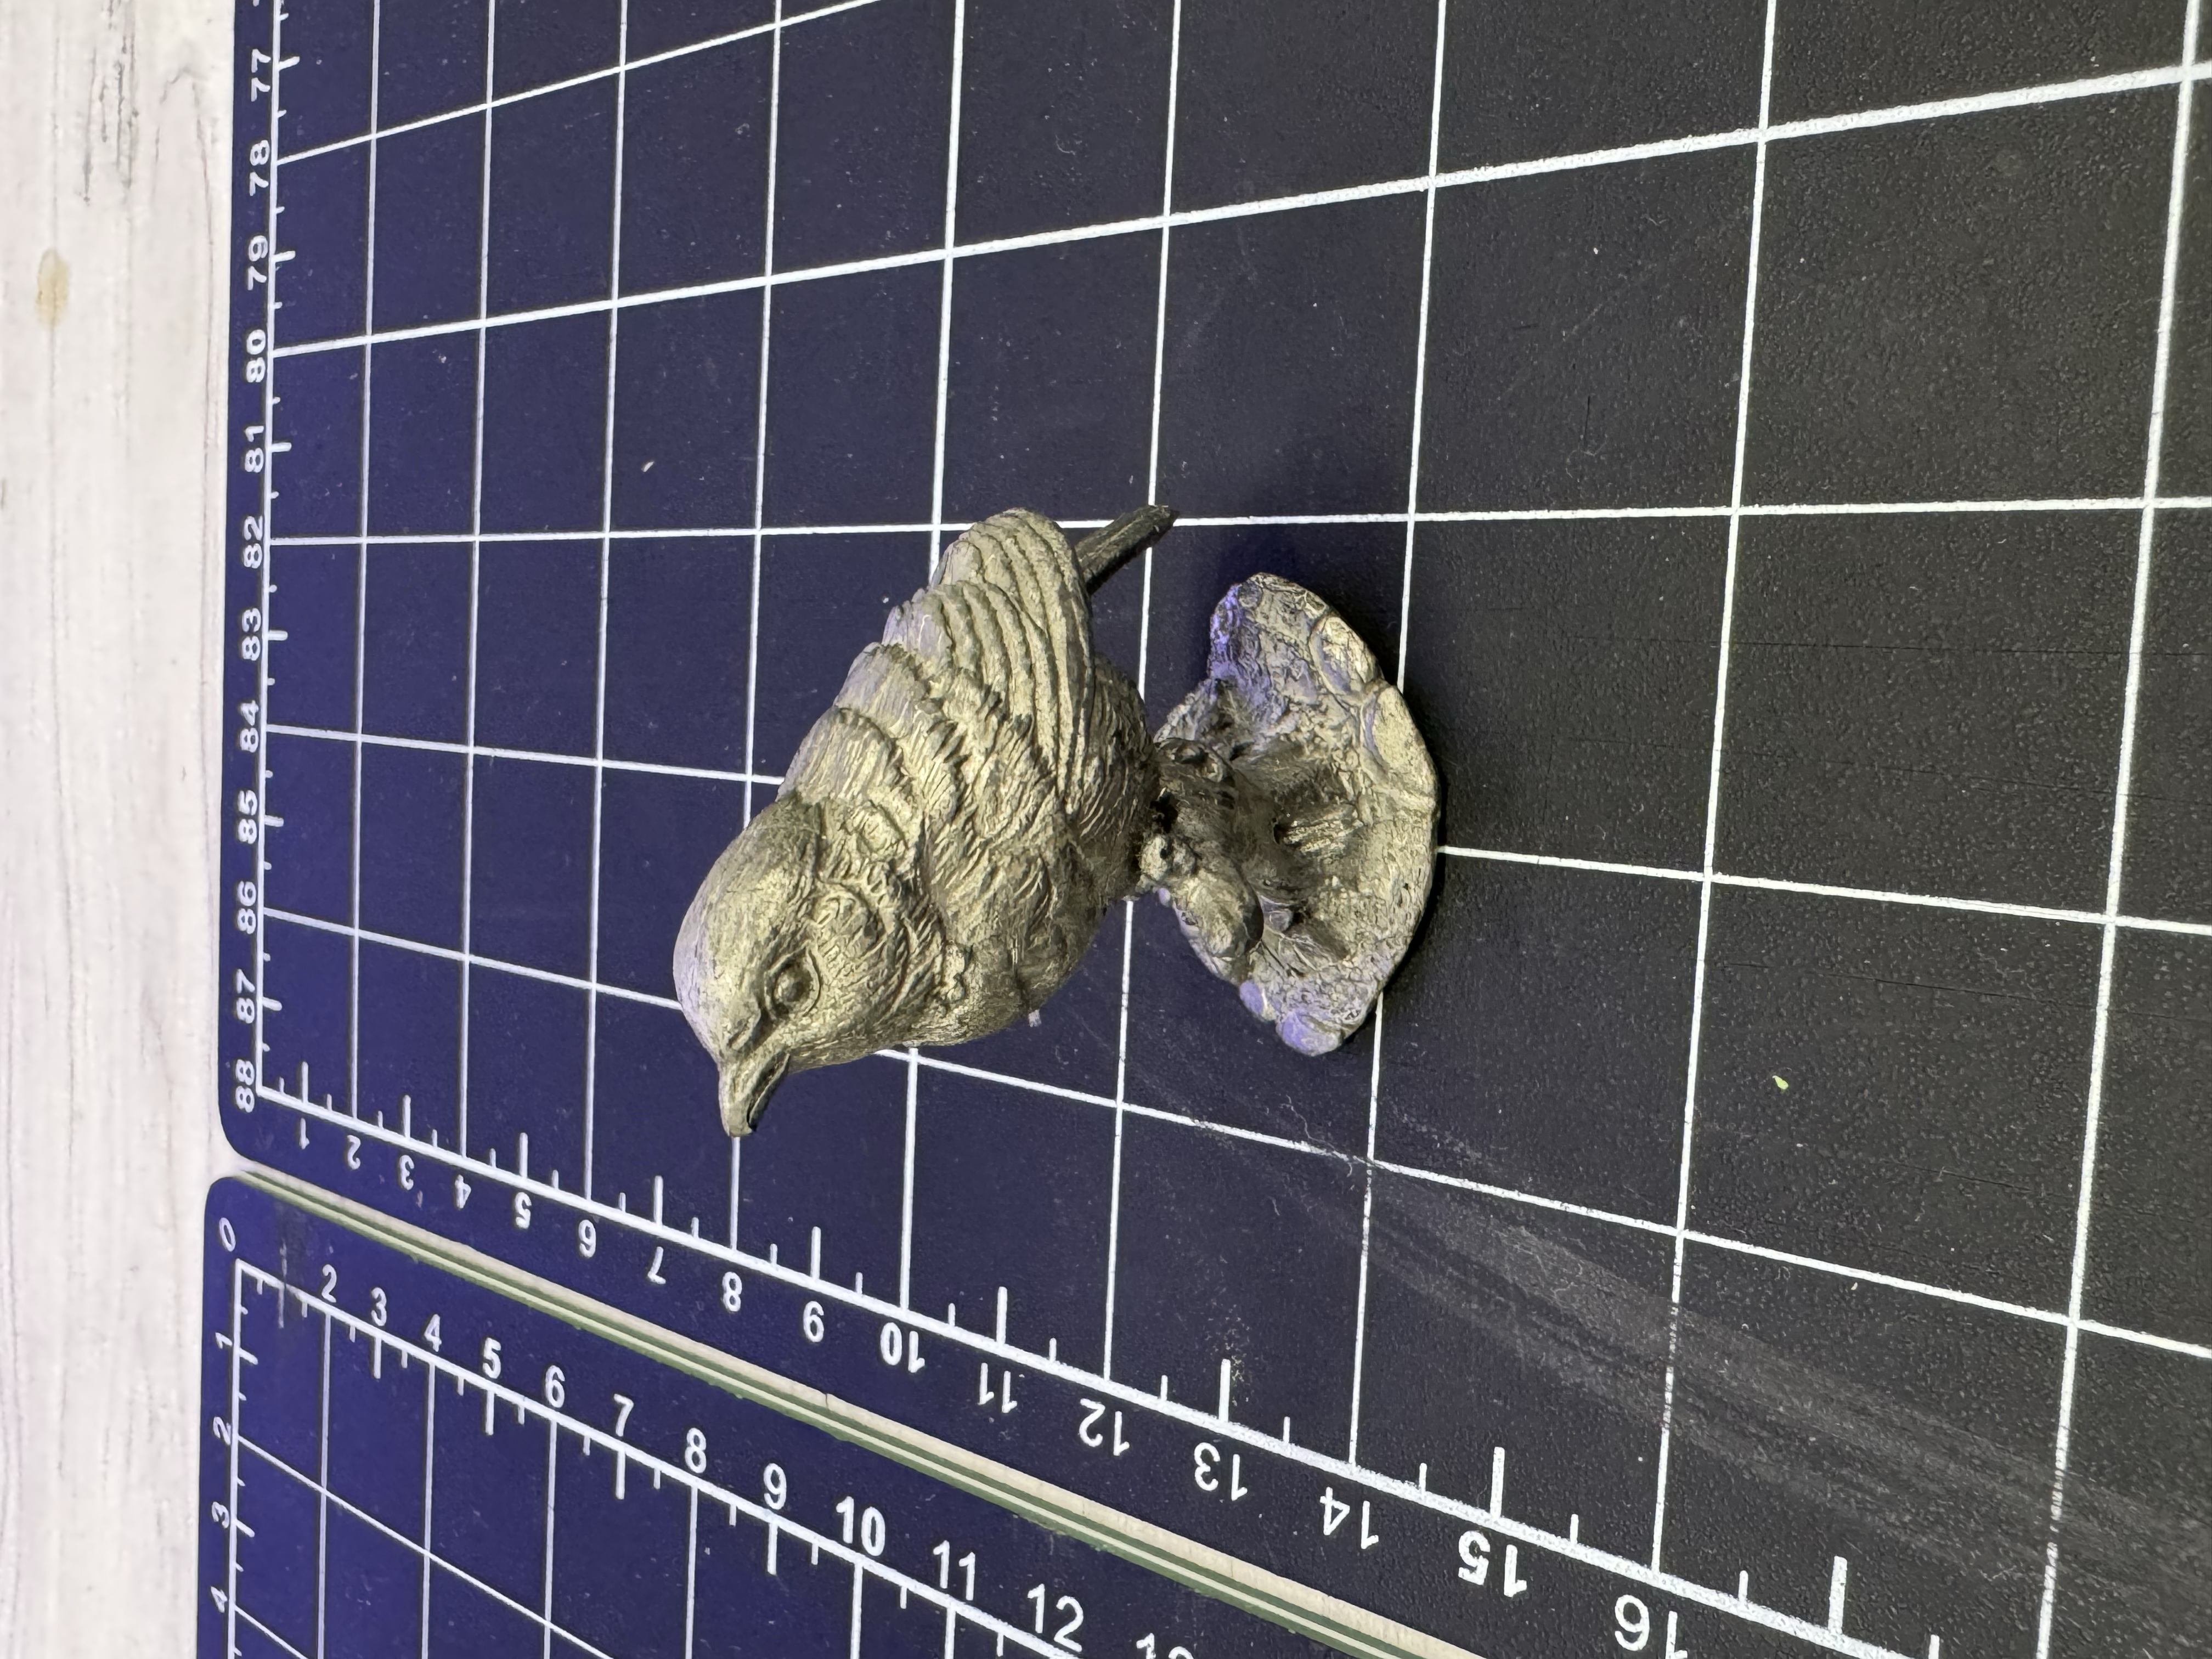
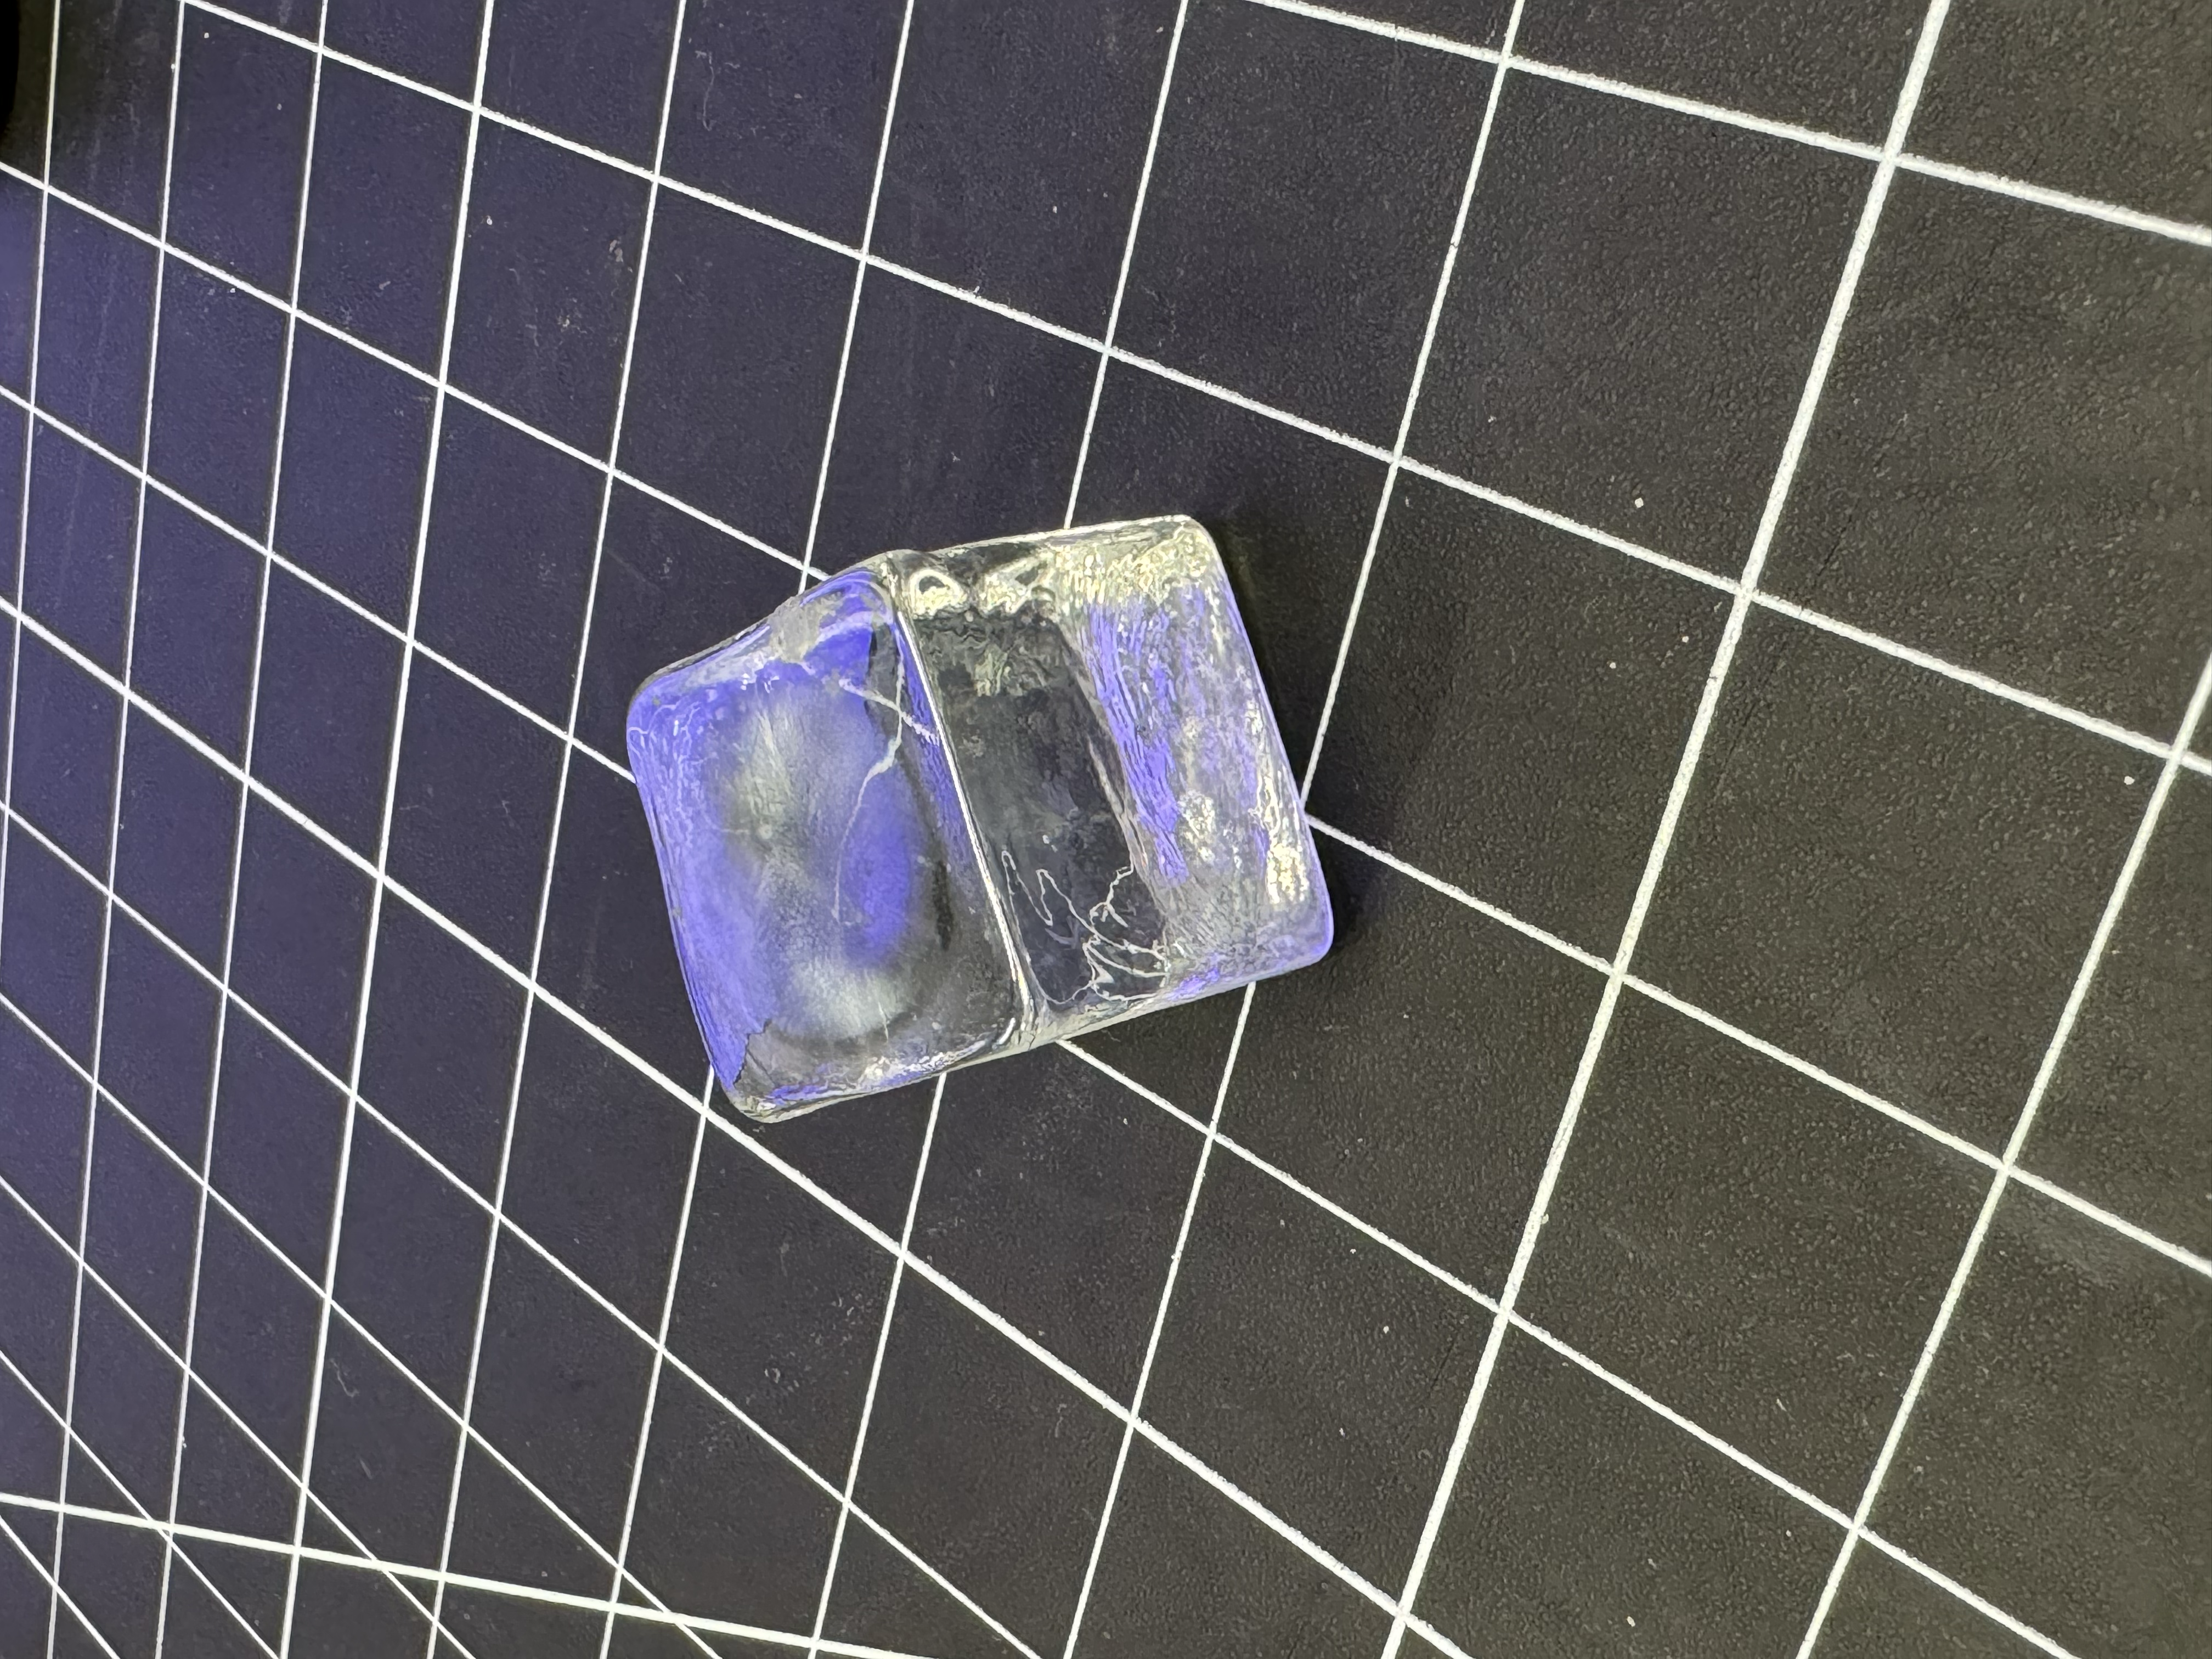
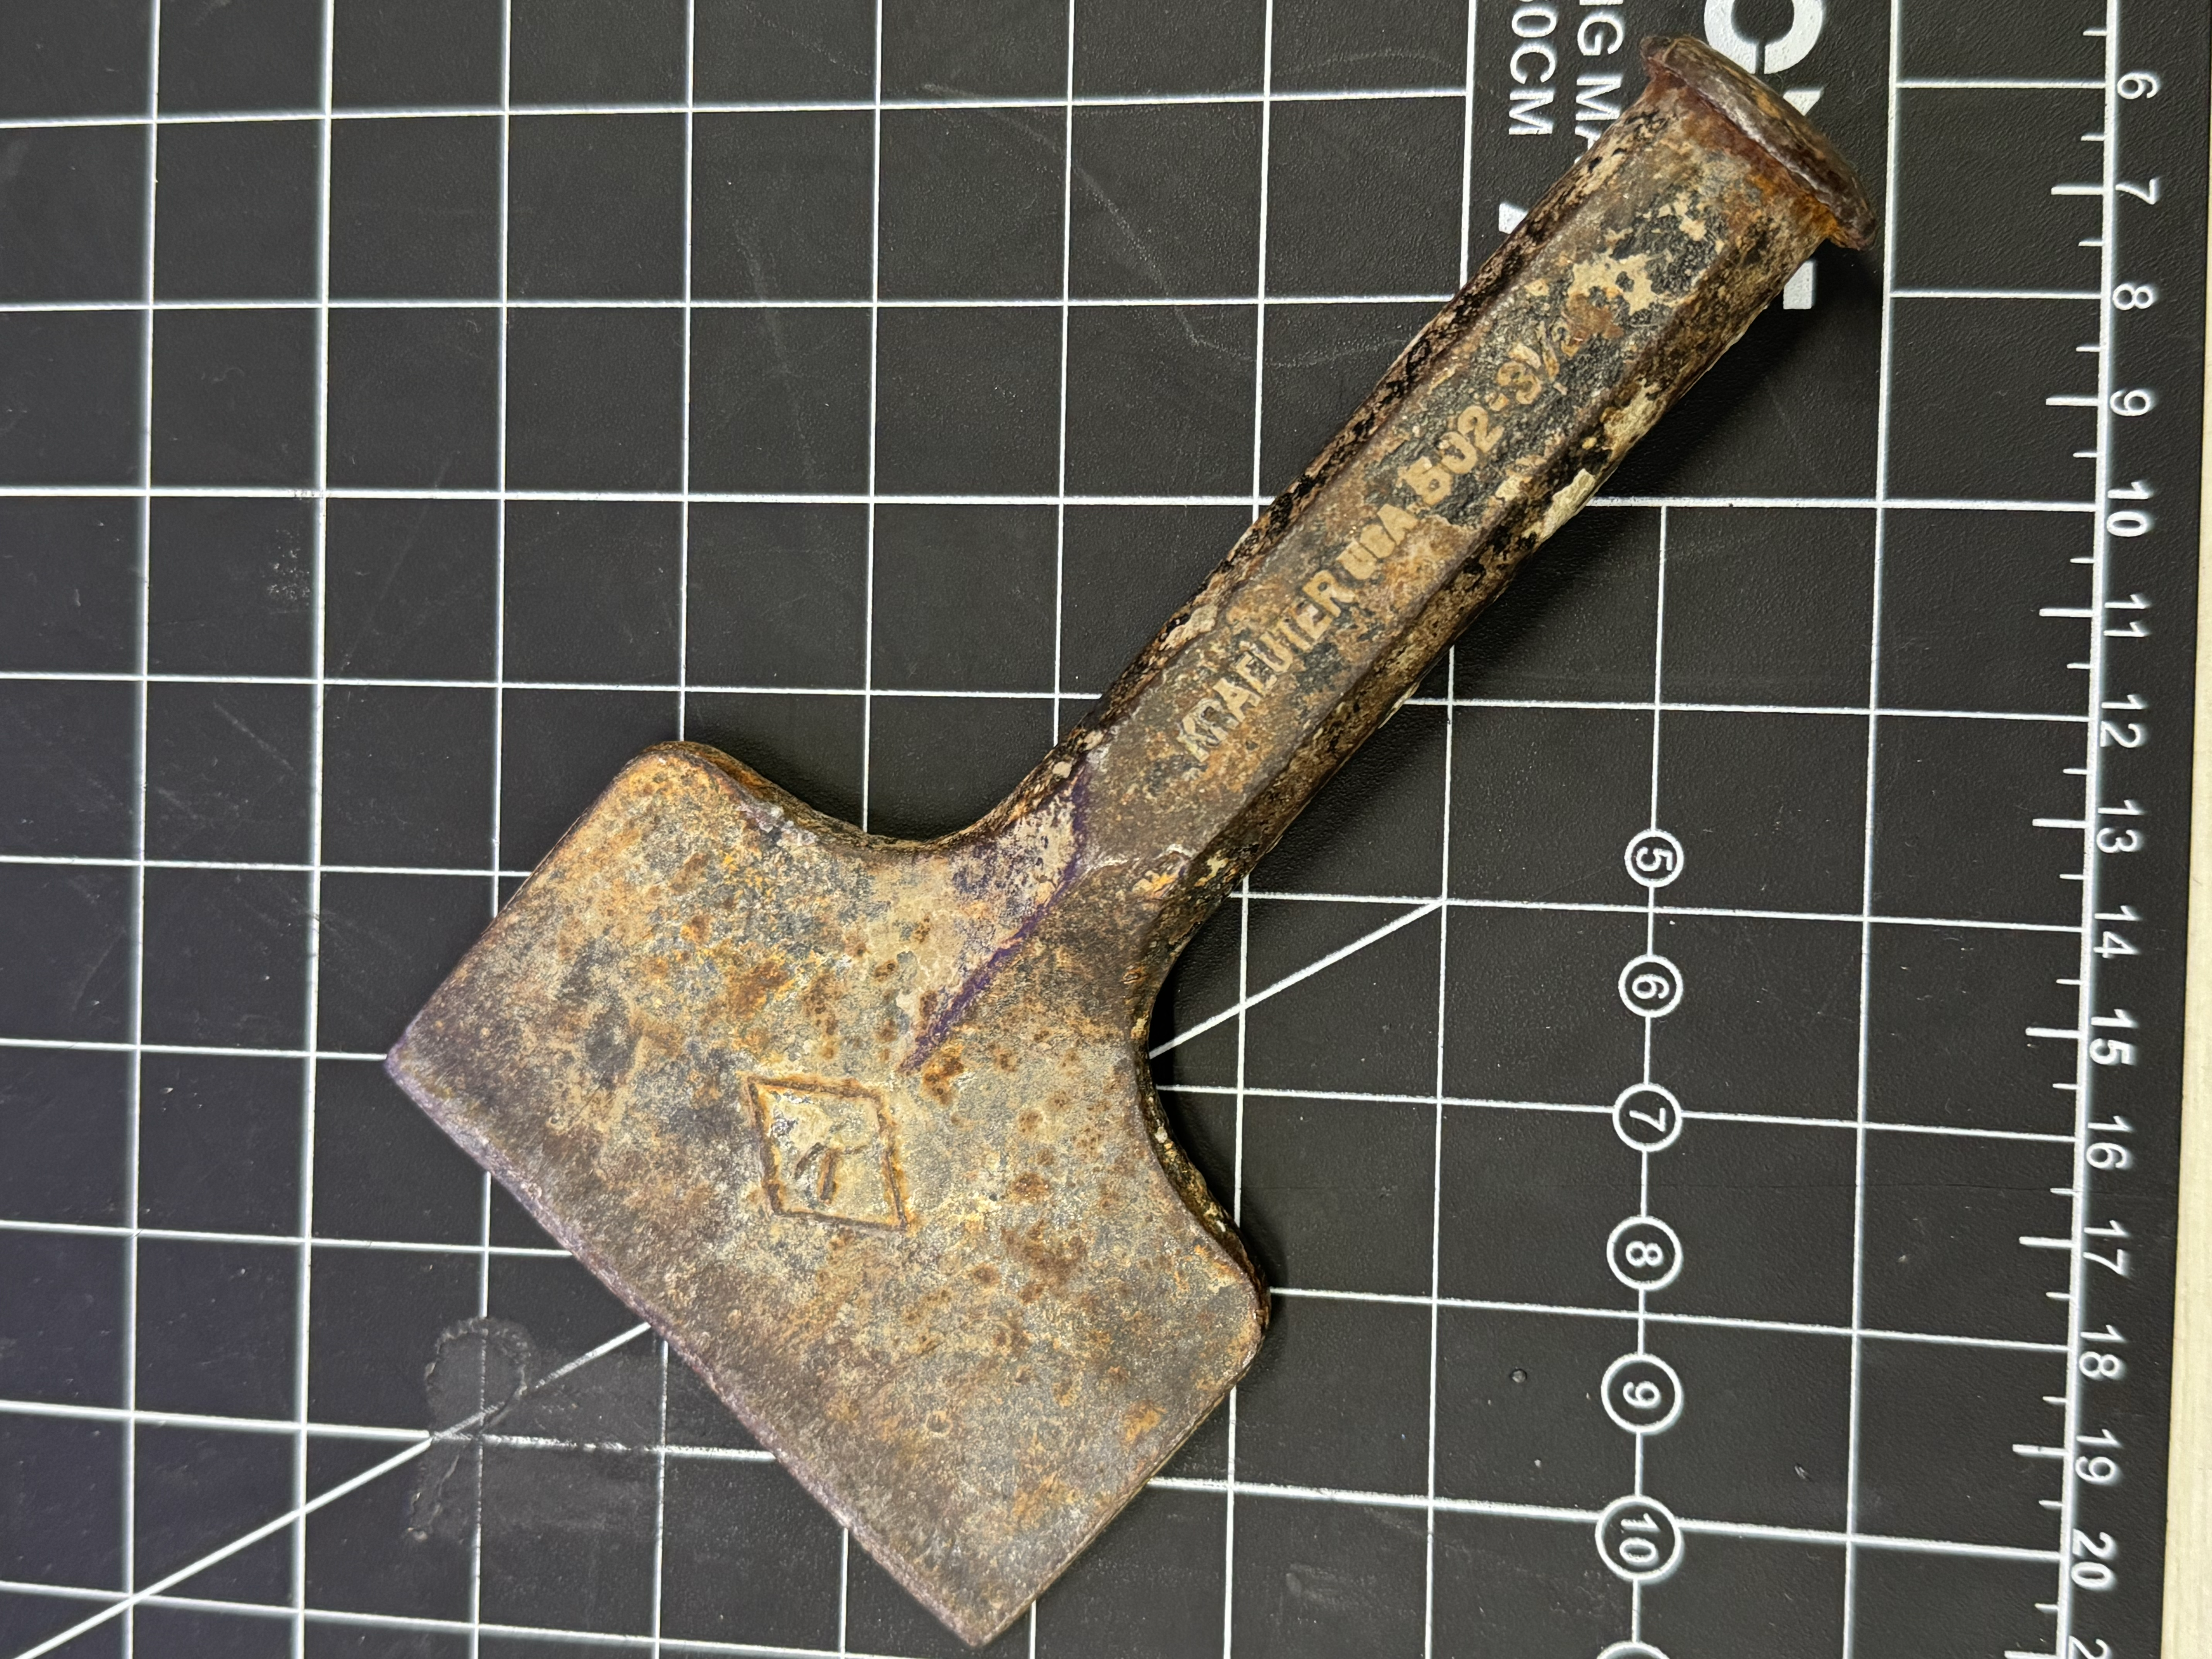
This image is of a bird made of bronze/brass. This material can predominantly be used in 3D modeling to create sculptures and statues. It is also used forjewery and coins and medals. This image is of a transparent glass cube. This material is commonly used for Windows, glass bottles, and also ice sculptures. This material can be used in 3D modeling when trying to create something with a transparent surface. This image is of what I belive to be rusted iron. This material is commonly used for transportation, contruction tools, and also for certain boats. Although, it does take a while for this objects to develop rust. This material can be used when creating more rustic or older objects in 3D modeling.

Project 1


Project 1 Models

Published 3D Model 1

Interactive 3D model of headphones.

Published 3D Model 2

Interactive 3D model of a water cup.

Published 3D Model 3

Interactive 3D controller model.

×

Powered by w3.css